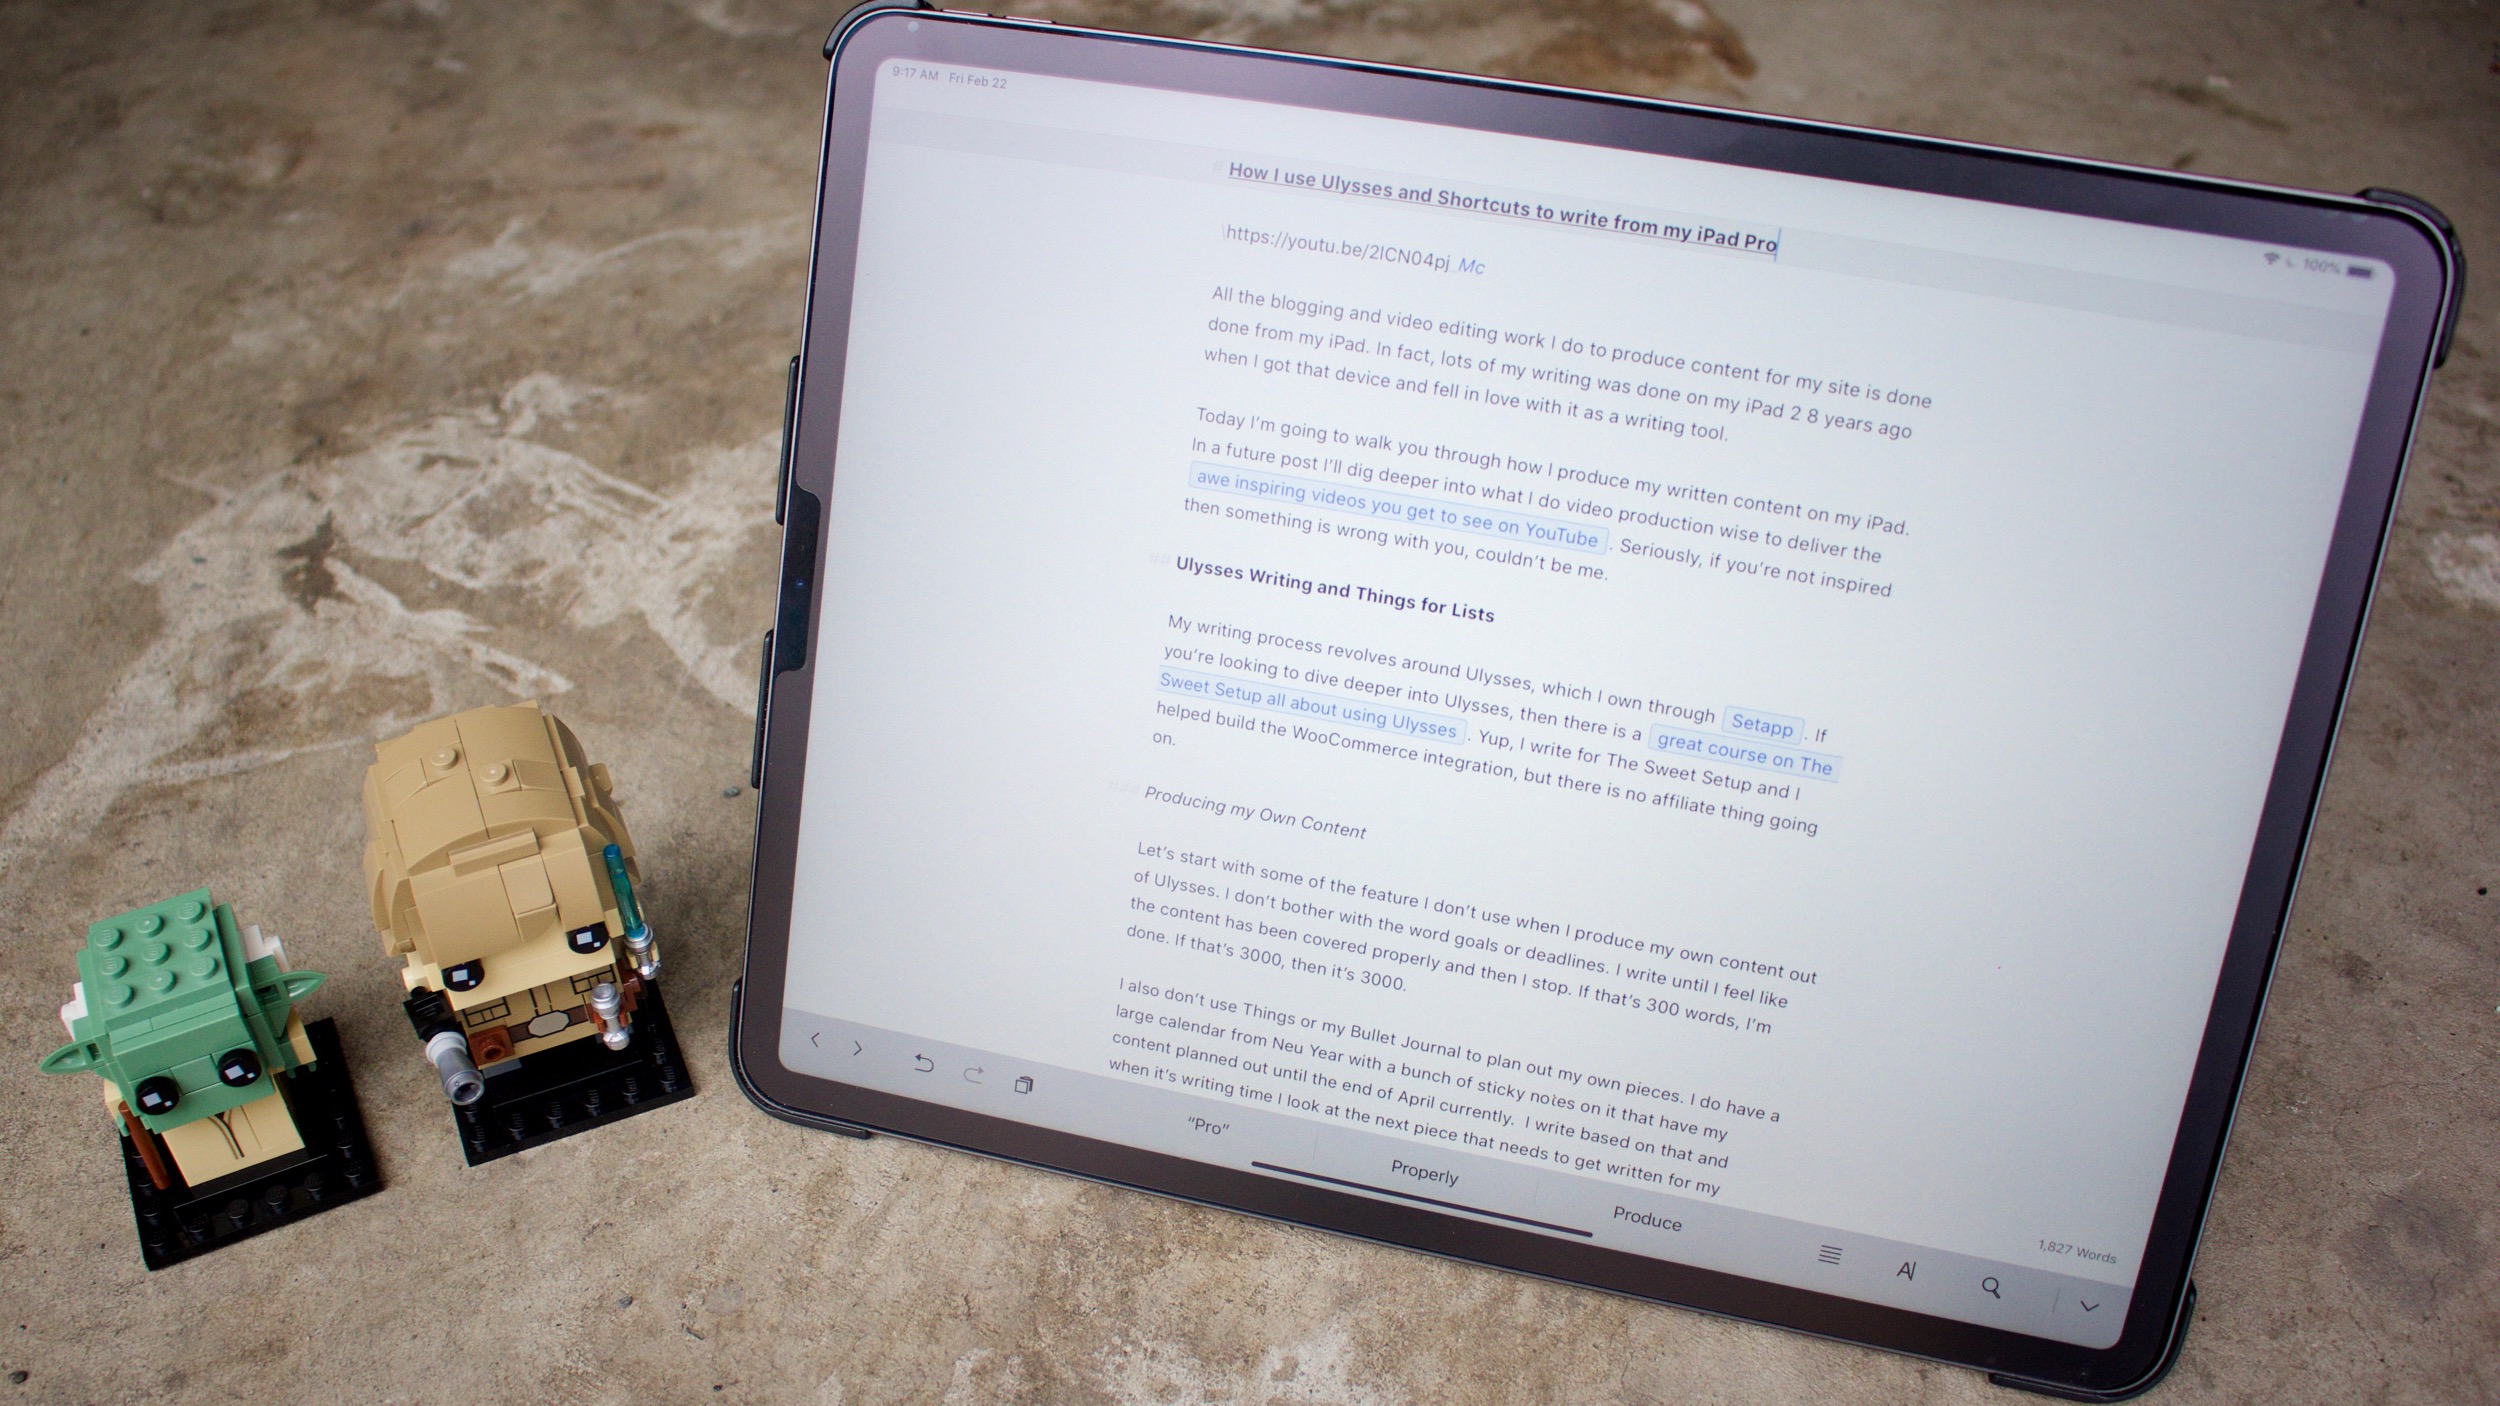
https://youtu.be/2lCN04pj_Mc
All the blogging and video editing work I do to produce content for my site is done done from my iPad. In fact, lots of my writing was done on my iPad 2 8 years ago when I got that device and fell in love with it as a writing tool.
Today I’m going to walk you through how I produce my written content on my iPad. In a future post I’ll dig deeper into what I do video production wise to deliver the awe inspiring videos you get to see on YouTube. Seriously, if you’re not inspired then something is wrong with you, couldn’t be me.
Ulysses Writing and Things for Lists
My writing process revolves around Ulysses, which I own through Setapp. If you’re looking to dive deeper into Ulysses, then there is a great course on The Sweet Setup all about using Ulysses. Yup, I write for The Sweet Setup and I helped build the WooCommerce integration, but there is no affiliate thing going on.
Producing my Own Content
Let’s start with some of the feature I don’t use when I produce my own content out of Ulysses. I don’t bother with the word goals or deadlines. I write until I feel like the content has been covered properly and then I stop. If that’s 300 words, I’m done. If that’s 3000, then it’s 3000.
I also don’t use Things or my Bullet Journal to plan out my own pieces. I do have a large calendar from Neu Year with a bunch of sticky notes on it that have my content planned out until the end of April currently. I write based on that and when it’s writing time I look at the next piece that needs to get written for my Monday publishing routine.
I do use my Things Routines project to make sure that I get my content out on Thursday morning for the next week. It has only three tasks corresponding to my Monday, Wednesday, and Friday posts. Other content happens as it happens and get’s no tracking.
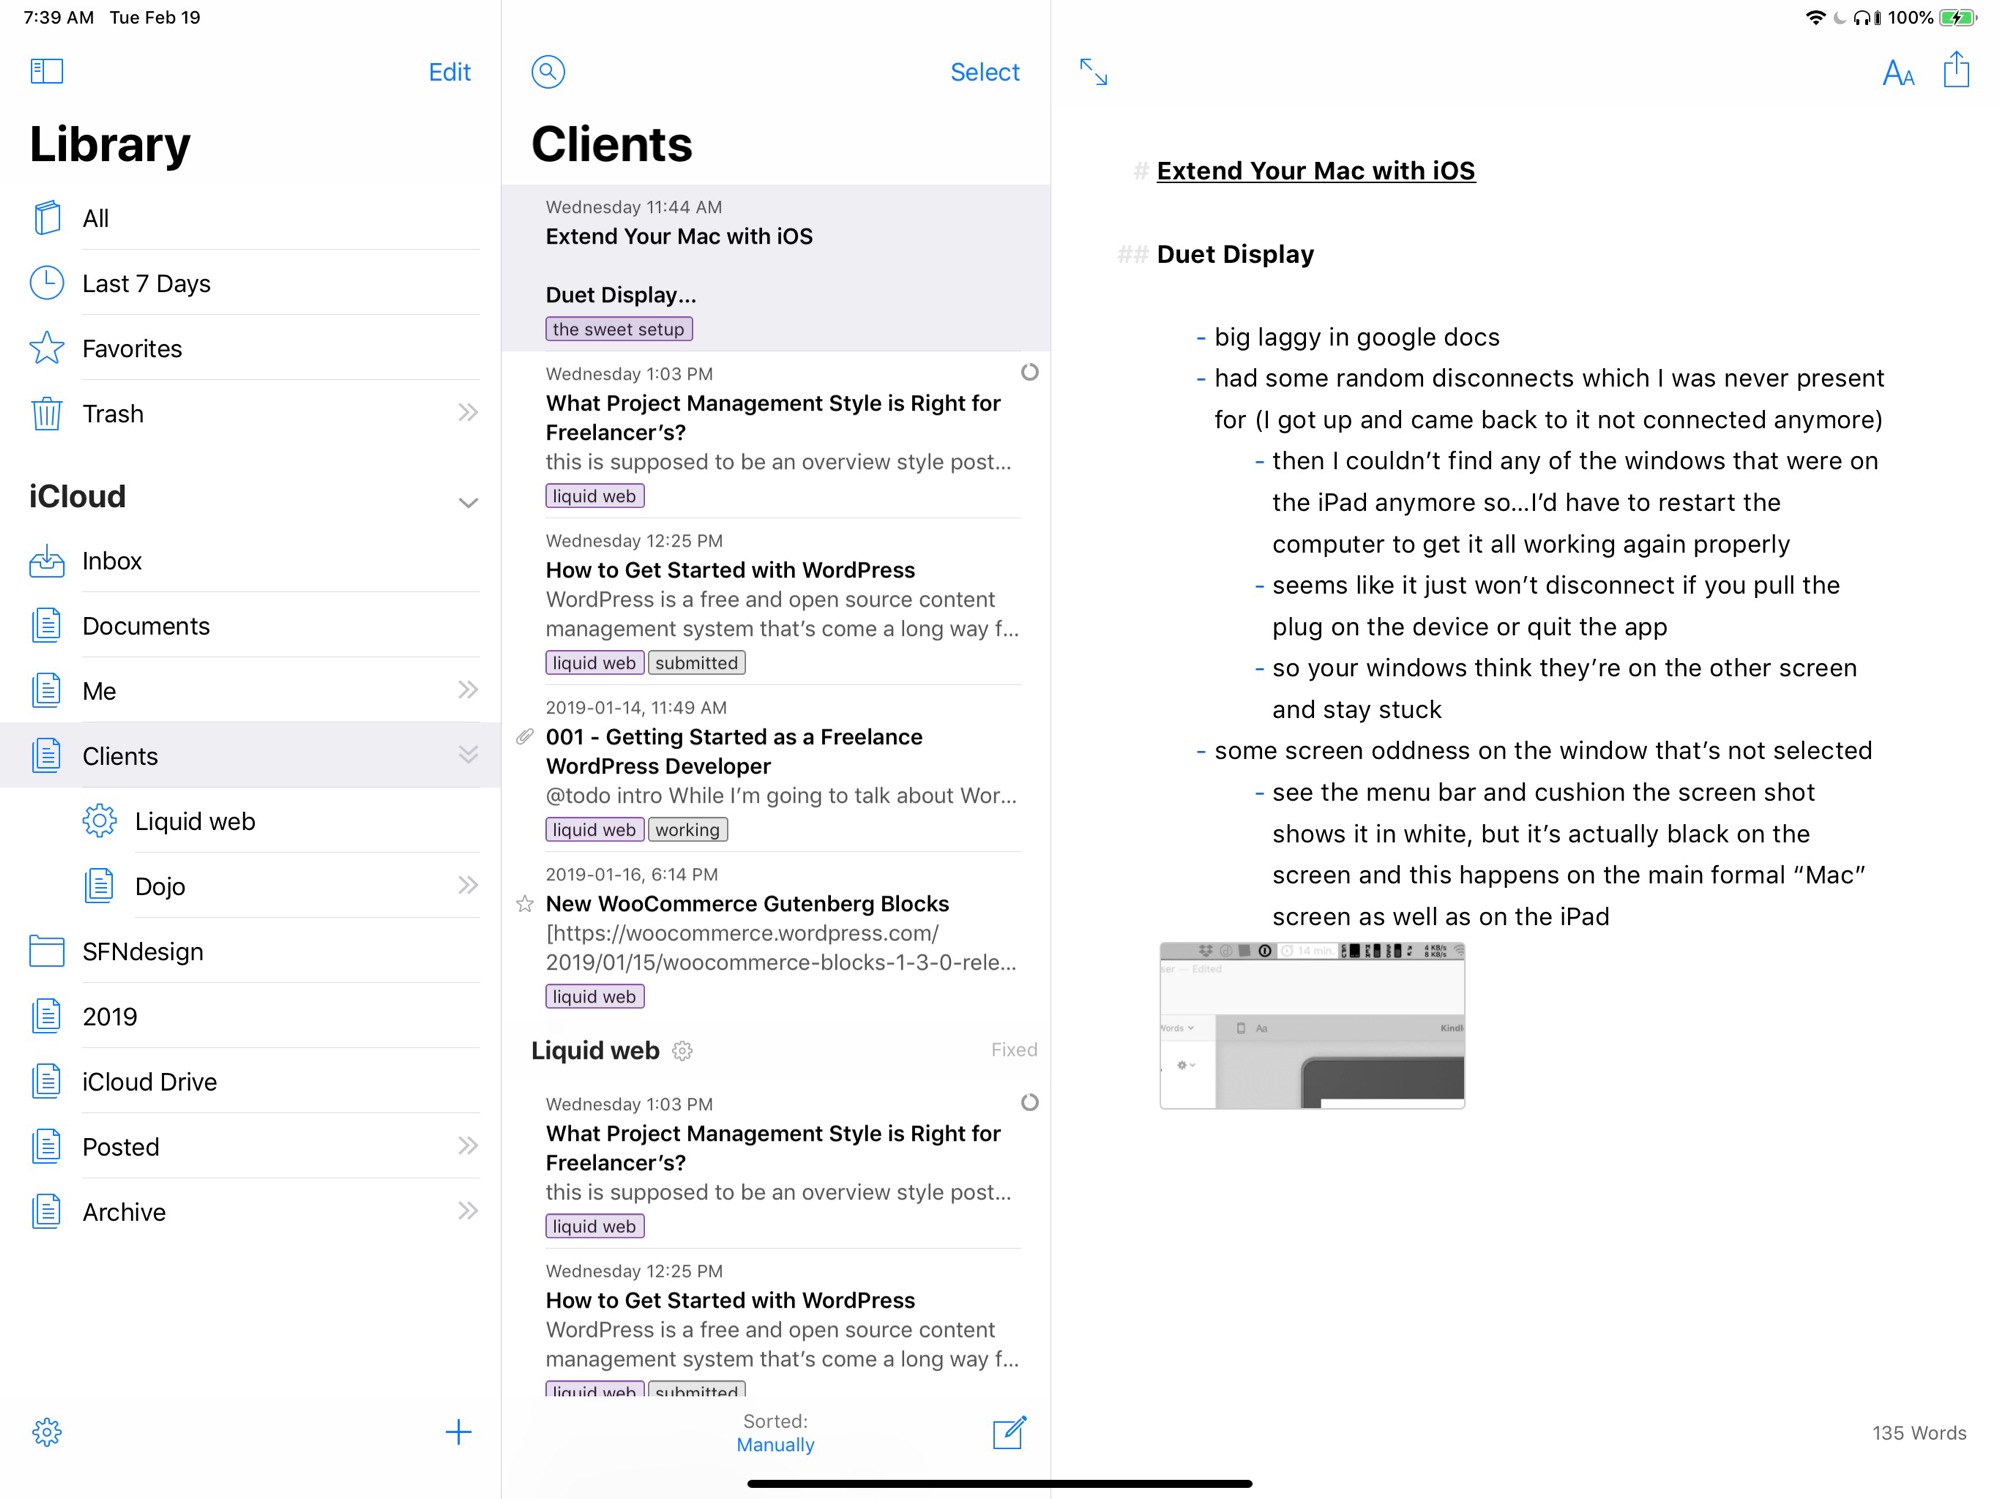
I organize Ulysses into two broad groups, client writing and my writing.
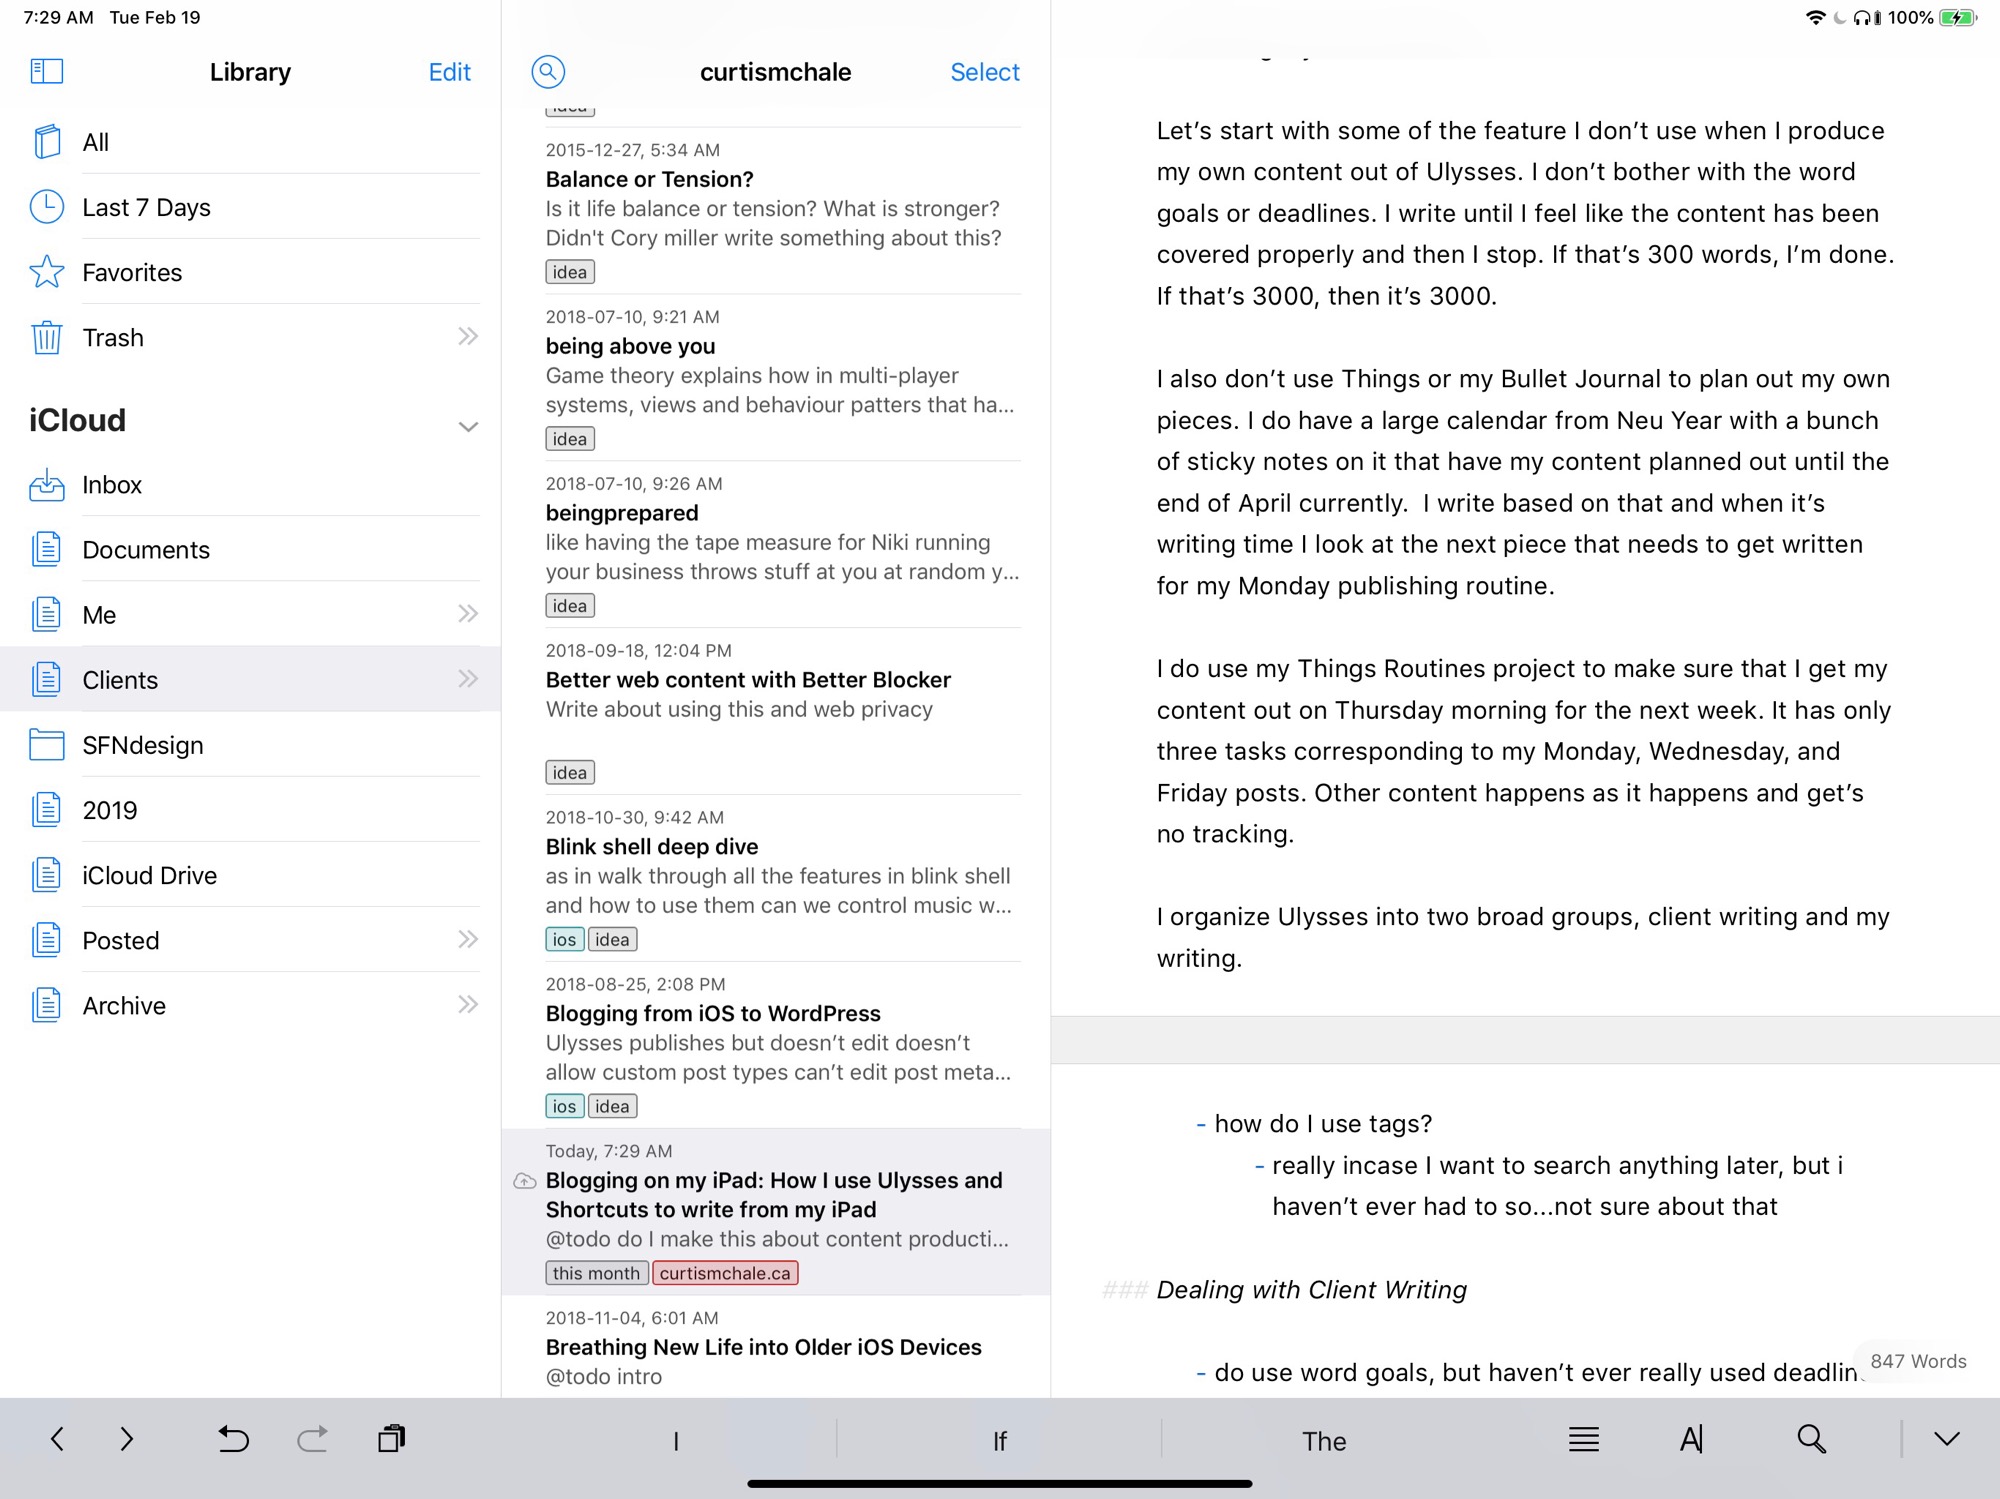 My main groups in Ulysses
Inside these there are various tags and saved searches that help my jump through the different content I have started. I have a whole tag for “this month” which is really anything that’s in the next few weeks that I’m working on and is planned for publishing.
Sometimes the items in “this month” are raw ideas to be written from scratch, sometimes it’s a piece that I worked on for a while and is finally ready to get on my calendar. If the latter happens, I move around my sticky notes on my calendar to make sure that it gets on sooner rather than later.
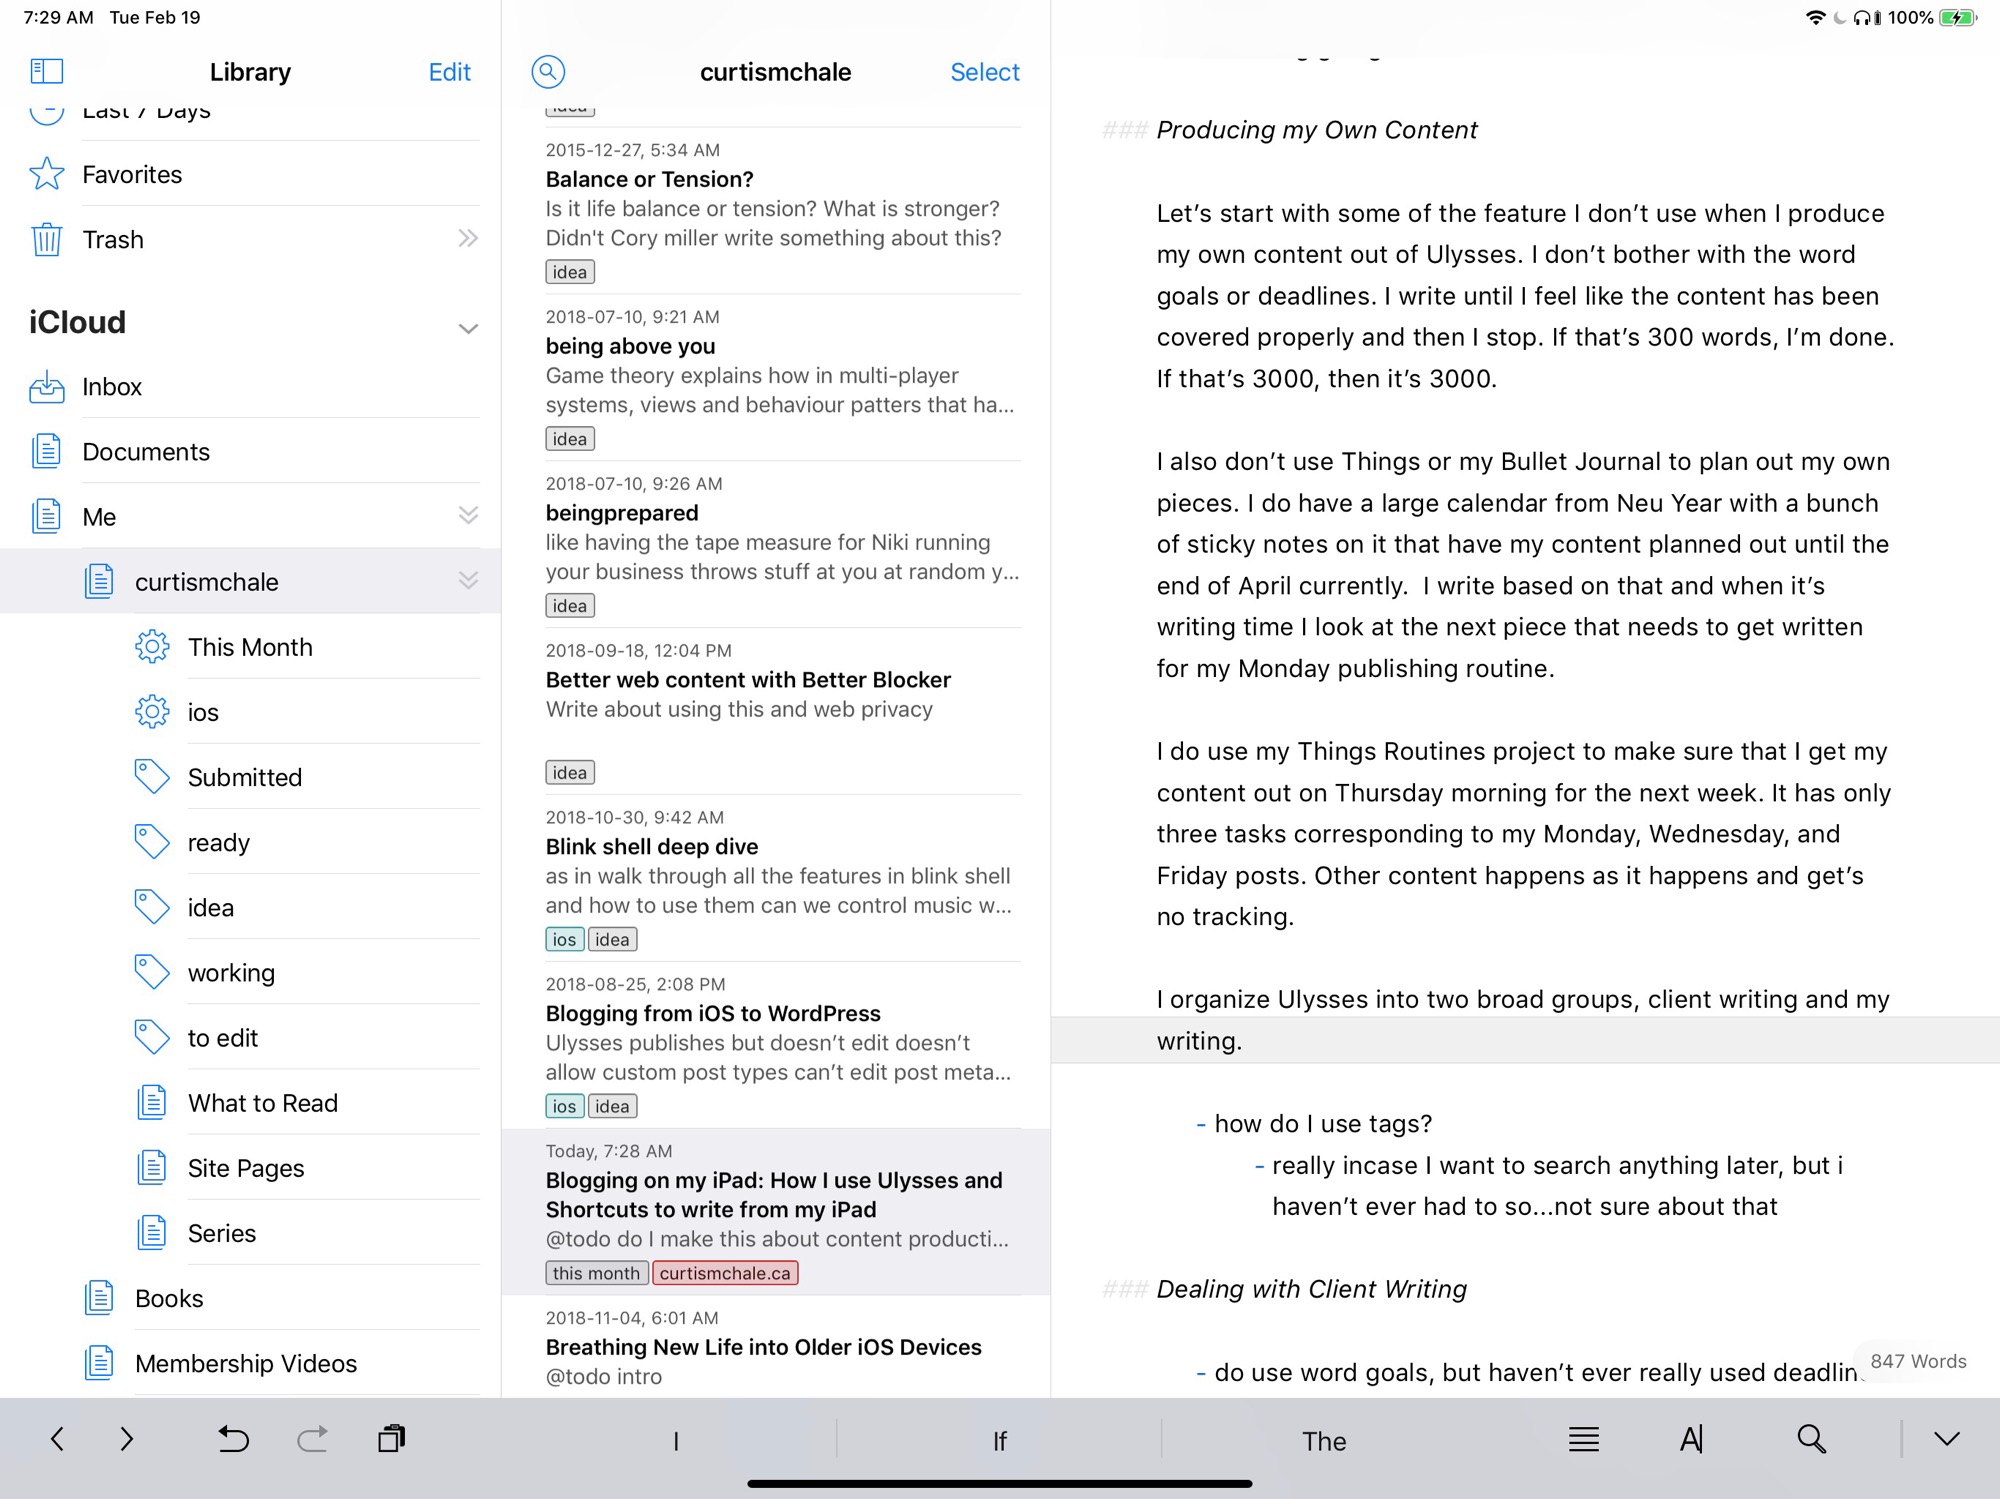
I do have one other main repository for my writing in Ulysses, that’s the Inbox. Here is where I produce my Freelance Friday newsletters and hold all the short pieces that go into the newsletter and blog post.
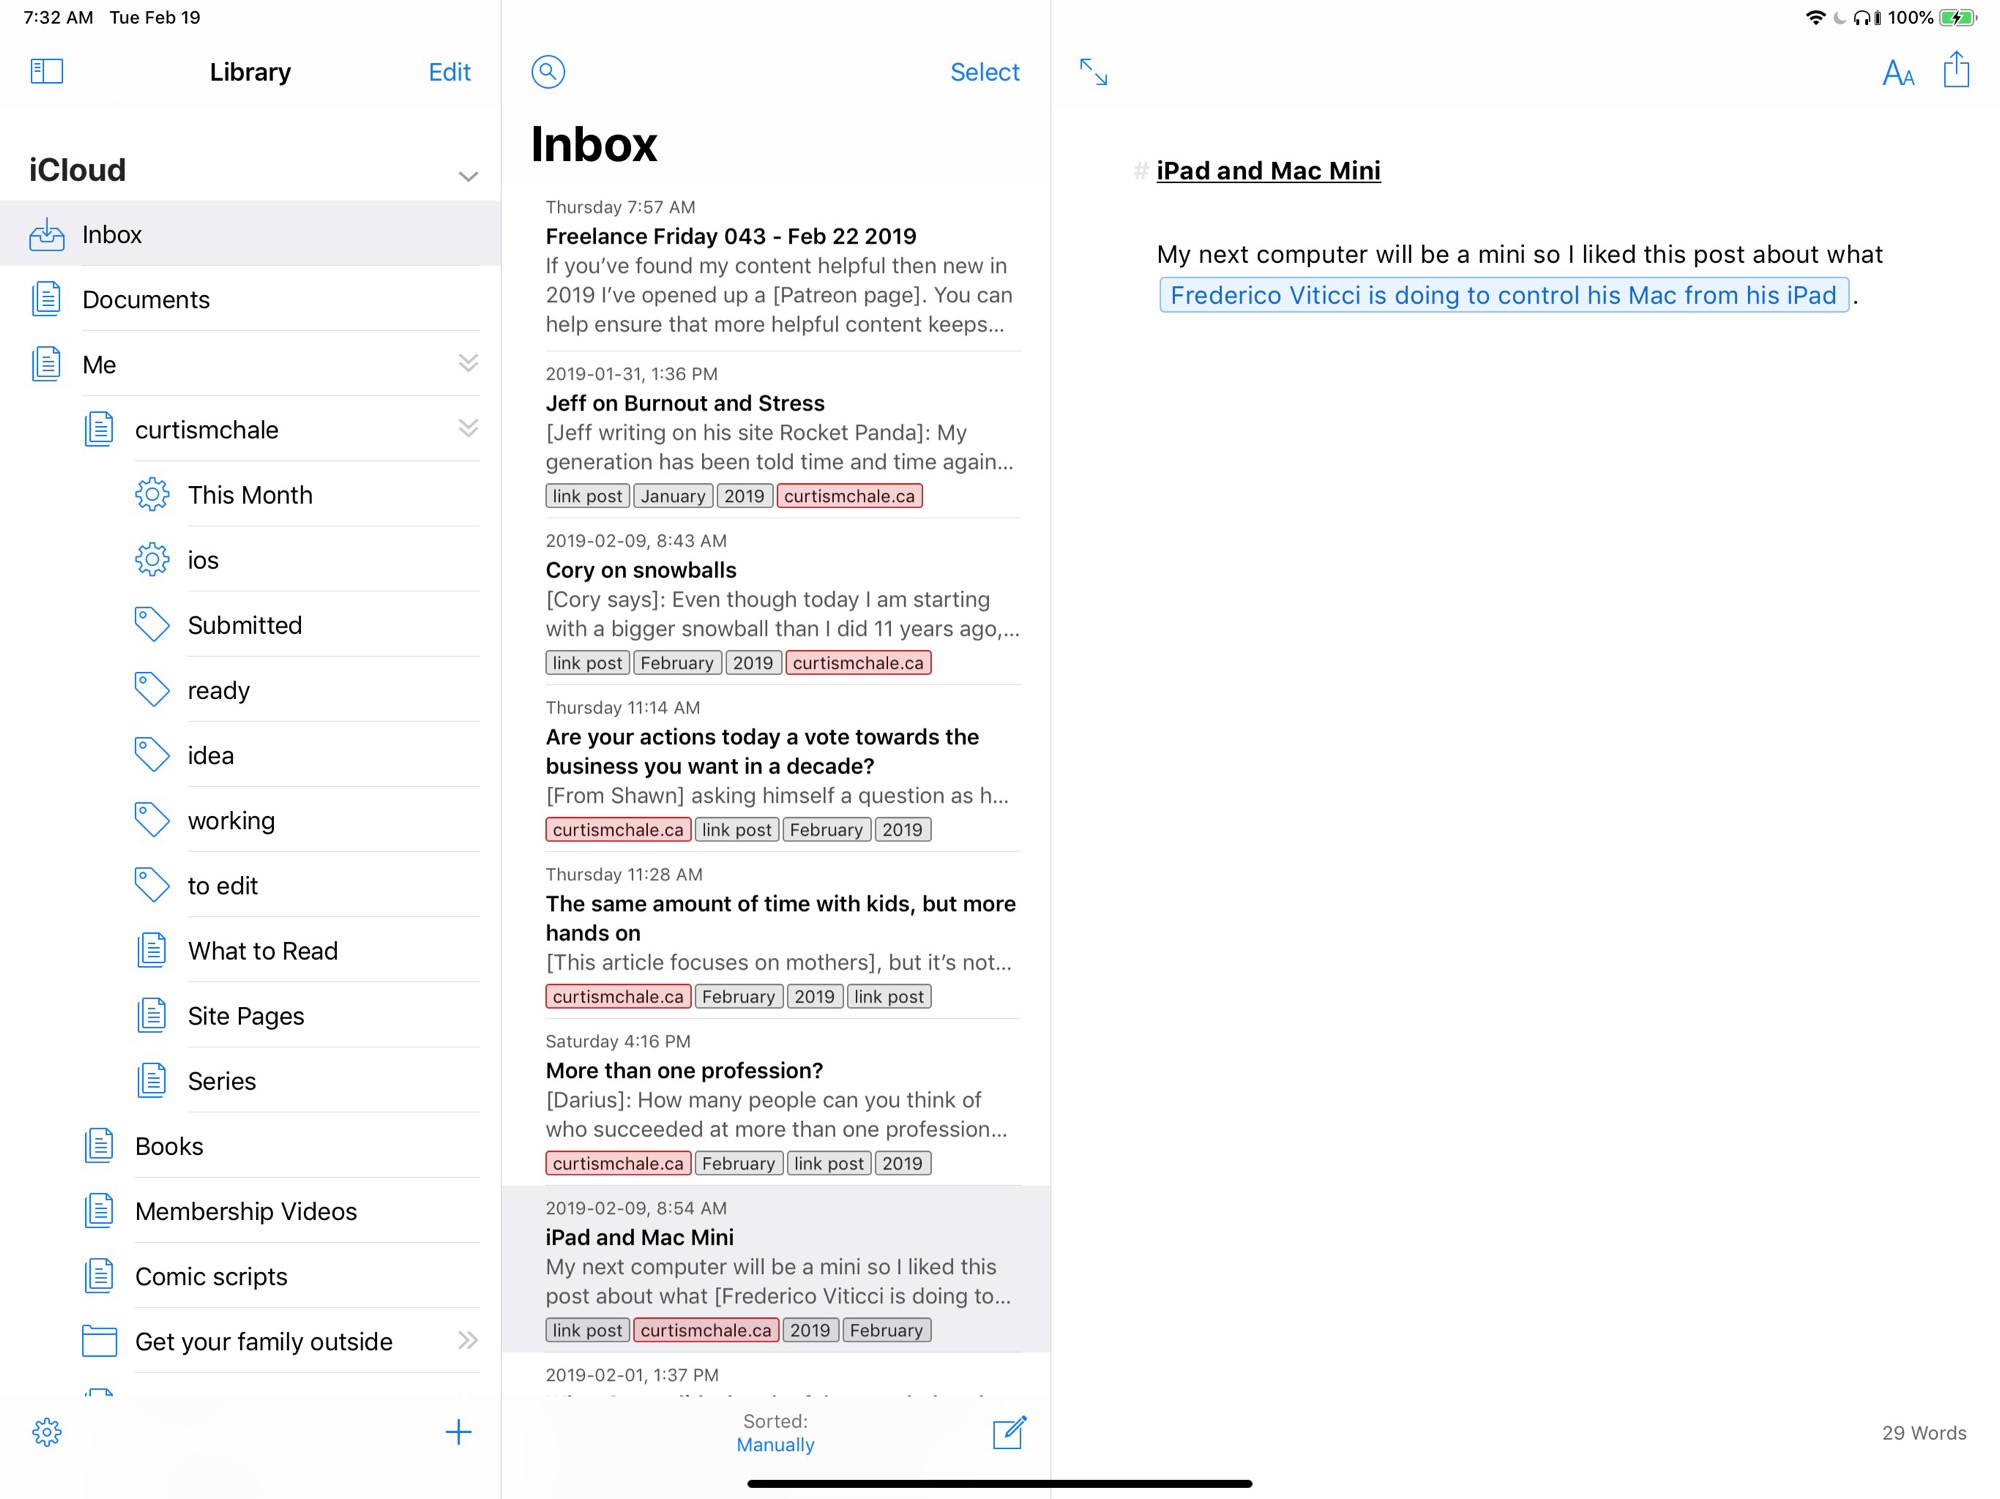 Link posts and Freelance Friday content
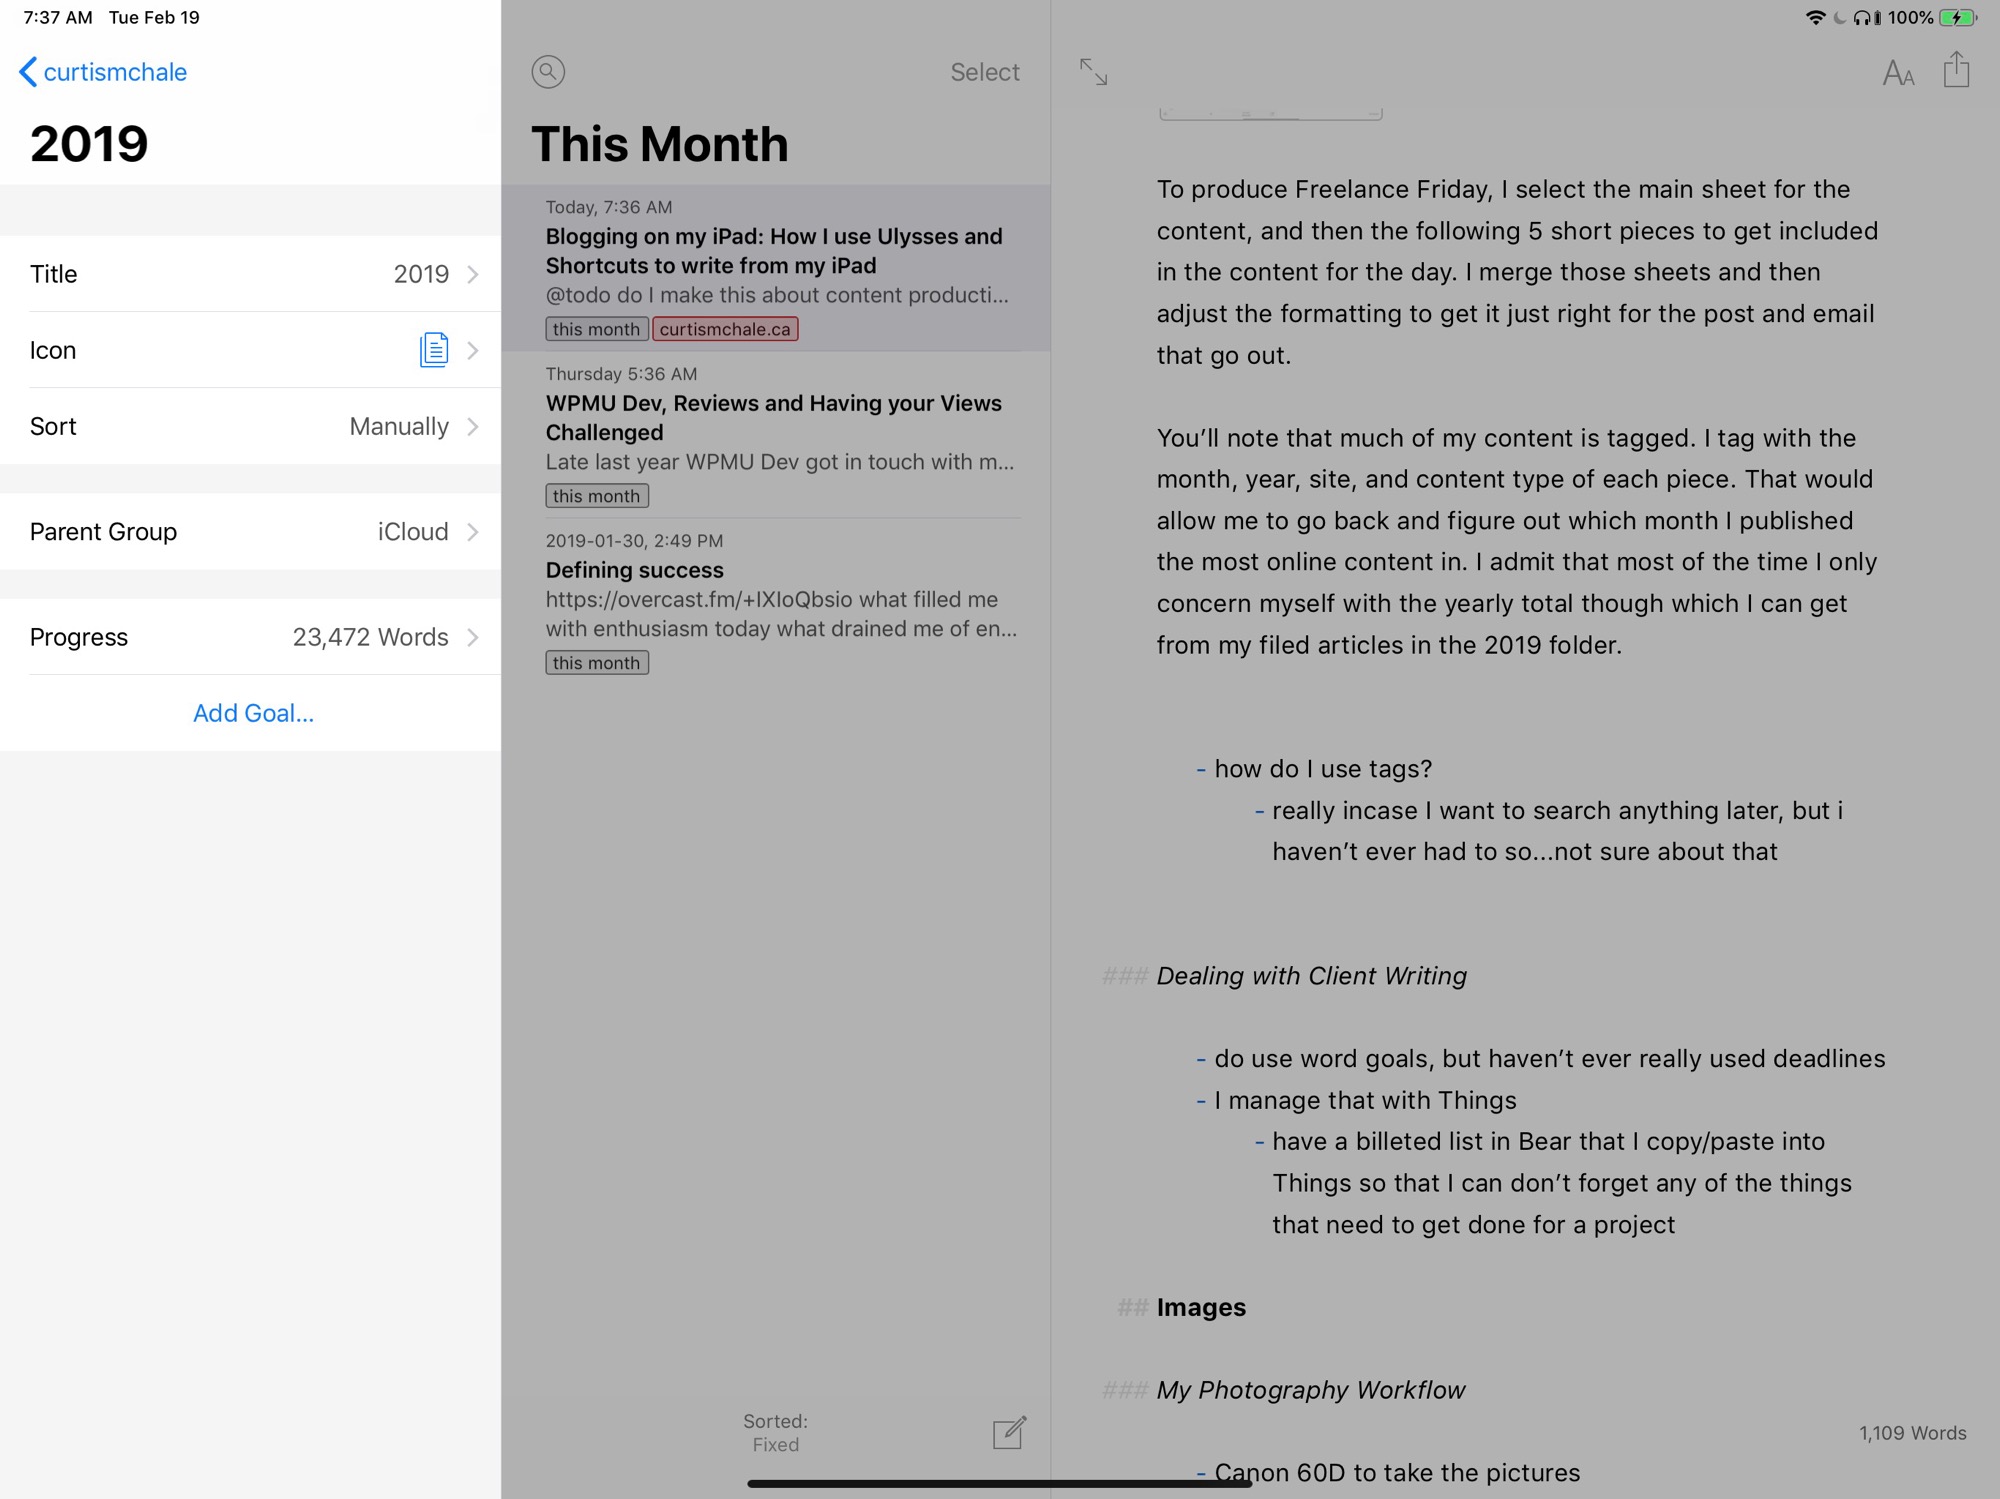
To produce Freelance Friday, I select the main sheet for the content, and then the following 5 short pieces to get included in the content for the day. I merge those sheets and then adjust the formatting to get it just right for the post and email that go out.
You’ll note that much of my content is tagged. I tag with the month, year, site, and content type of each piece. That would allow me to go back and figure out which month I published the most online content in. I admit that most of the time I only concern myself with the yearly total though which I can get from my filed articles in the 2019 folder.
 Word totals for 2019 in Ulysses
Yes I have folders for each year since 2015. Before that my words are scattered around in different apps, but it’s all published on my site so I could certainly figure out what my total all time writing total is if I was so inclined.
Dealing with Client Writing
Client writing takes a bit more formal approach. Here I colour all client tags with purple so they’re highly visible immediately.
I do use word goals for client projects so that I don’t have to keep track of the desired length of a piece in my head because it varies for each client I write for. I do not bother with the deadlines that Ulysses offers though, because Things is so much better suited to that information.
Between Things and Bear, I keep checklists of the needs for a particular writing project. That’s everything from what they want as far as SEO metadata to who I need to submit the content to. Bear and Things allow you to copy and paste a list of bullet points from Bear into tasks in Things.
Images
I’ve been doing images themed on Lego for a while now and that means at least some of them I need to handle myself. Flickr has been my go to source for images for a while using their CC filtered search. If I can’t find something on Flickr then it’s my turn to pull out the camera.
My Photography Workflow
I’ve been using a Canon 60D (see my full list of gear here) for many years now and I’ve been very happy with the camera until recently when I realized it didn’t have some of the video features I now need. I’ll talk about my video workflow in the future.
As a still camera, my 60D is perfect. I’ll grab one of my numerous Lego characters, or raid something from my kids and then head out to an appropriate location to take a picture.
Once I have an image I’m happy with, I’ll turn to my iPad and import the photos. I do a first pass of deleting images in the standard iOS Photos app. I may even do some cropping if it seems like the right thing to do to evaluate the image.
Once I’ve done a first pass of editing I turn to Darkroom. Darkroom is the best photo editor I've found on my iPad. No I haven’t tried Lightroom, Adobe lost me years ago with some of the stupid crap they did that put money first instead of customers.
I can talk more about Darkroom in the future to show you what I do with many of the photos I take.
Using Shortcuts to streamline my image production
Once I’ve used Darkroom to tweak the image how I want it, I’ll save it back to Photos (over the original because Darkroom preserves history) and then Shortcuts comes into play. I want to make every image as small as possible without sacrificing quality or size so I have a shortcut (download that shortcut her yo!) that lets me select an image in Photos then have it cropped to 2500px on one side and then save it in a quality reduce .jpg format for the web.
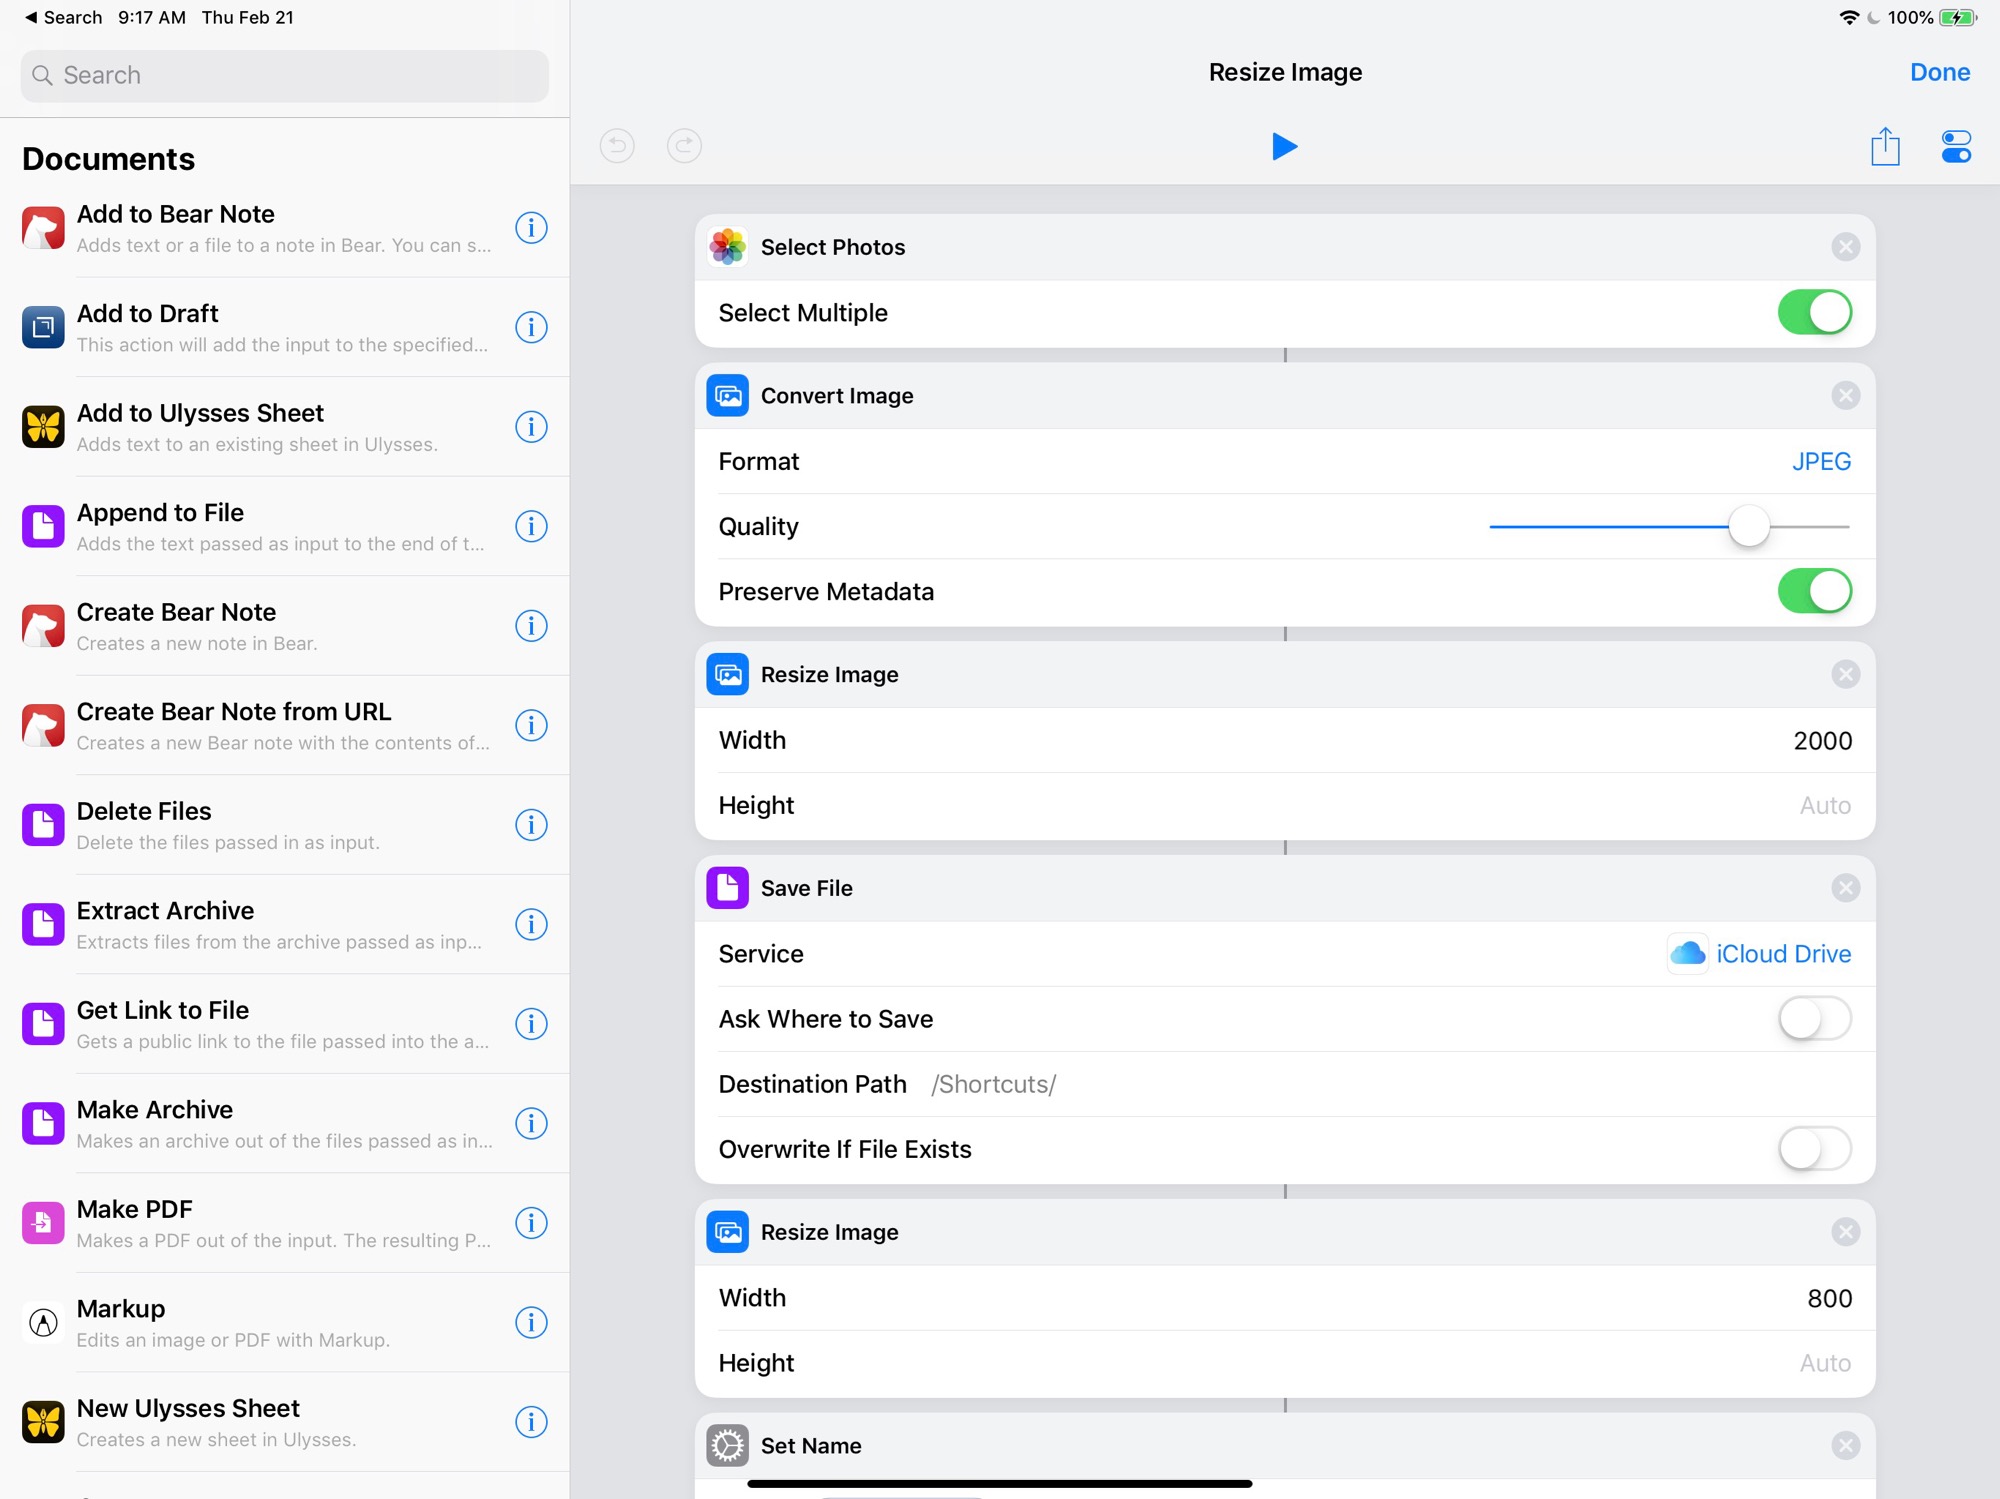
Some of my photos also make their way to my email list, so the shortcut also takes that image and appends -email to it after resizing it to 800px on it’s long side. Both of those images end up in my Shortcuts folder in iCloud.
From there Ulysses makes it easy to add the image to the post as I publish it to WordPress.
Screenshot for iOS Screenshots
For some of my client writing I also need screenshots of WordPress or other websites. This is where Awesome Screenshot for iOS comes in. It can take a webpage and remove the browser chrome so that you’re left with just the webpage. It even has some annotation tools built right in so I don’t have to take another step with it before I save the image out.
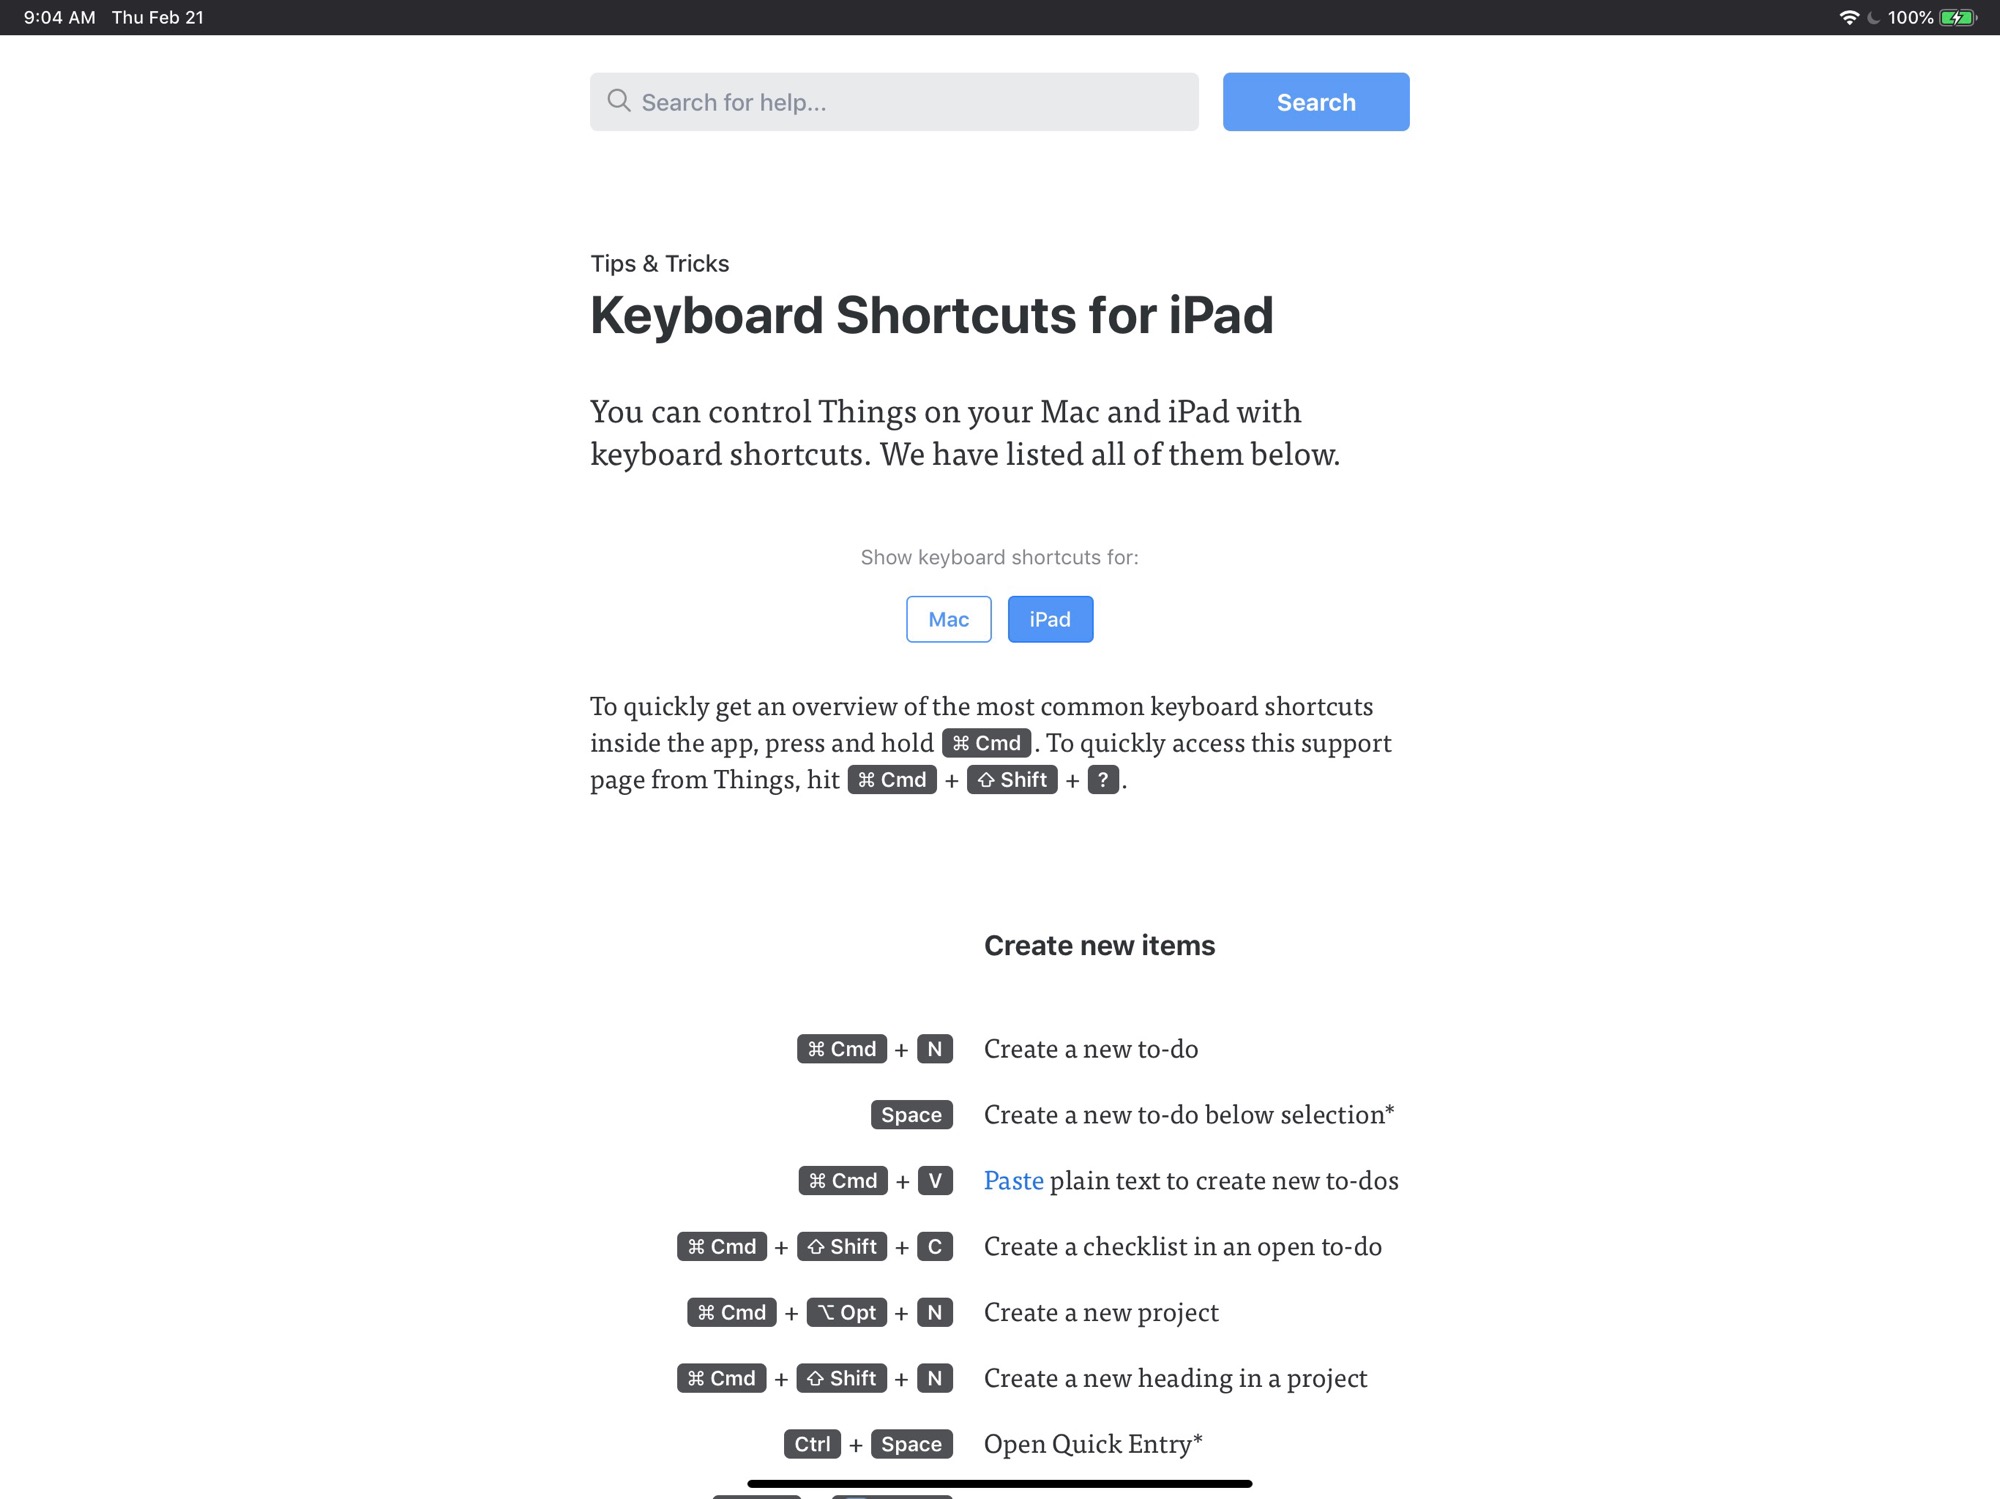
Now, Awesome Screenshot does have one limitation that I’ve bumped up against once. If the page is too long then it hits the iOS memory requirements and crashes. Having the 1TB 12.9” iPad that means it’s using a bunch of memory to get a screenshot, which speaks to how bloated some web pages are today. The only place I’ve had this issue so far is with the Things 3 keyboard shortcut page, which I just couldn’t get from Awesome Screenshot.
 Things 3 iPad keyboard shortcuts page
Some Concerns about Ulysses
While Ulysses is awesome on so many levels to write with, I still have a few concerns with it. First, it’s a subscription and as a developer I get that you need revenue, but as a user...oh my freaking blank does everyone want subscriptions. To combat this I get my copy of it through Setapp. A single subscription to rule them all with lots of apps in it seems like a much more reasonable option in the long term.
As an iPad first user this does present some problems though. I have had Ulysses on my iPad “lock” itself into read only mode when it couldn’t confirm with the Mac version that I was indeed a paying customer. When I’m on deadline for client work this sucks and made me start looking around again for a different app to hold my writing work.
I don’t have a different app to recommend, but I’m poking around at the options.
Now, Ulysses does provide regular updates and their support has been responsive every time I’ve had a bug. Subscription fatigue is real though and I’m always on the lookout for reasons to stop adding subscriptions to my list of things I must have, despite all their benefits for the companies and despite the fact that I think we need to support the apps we use.
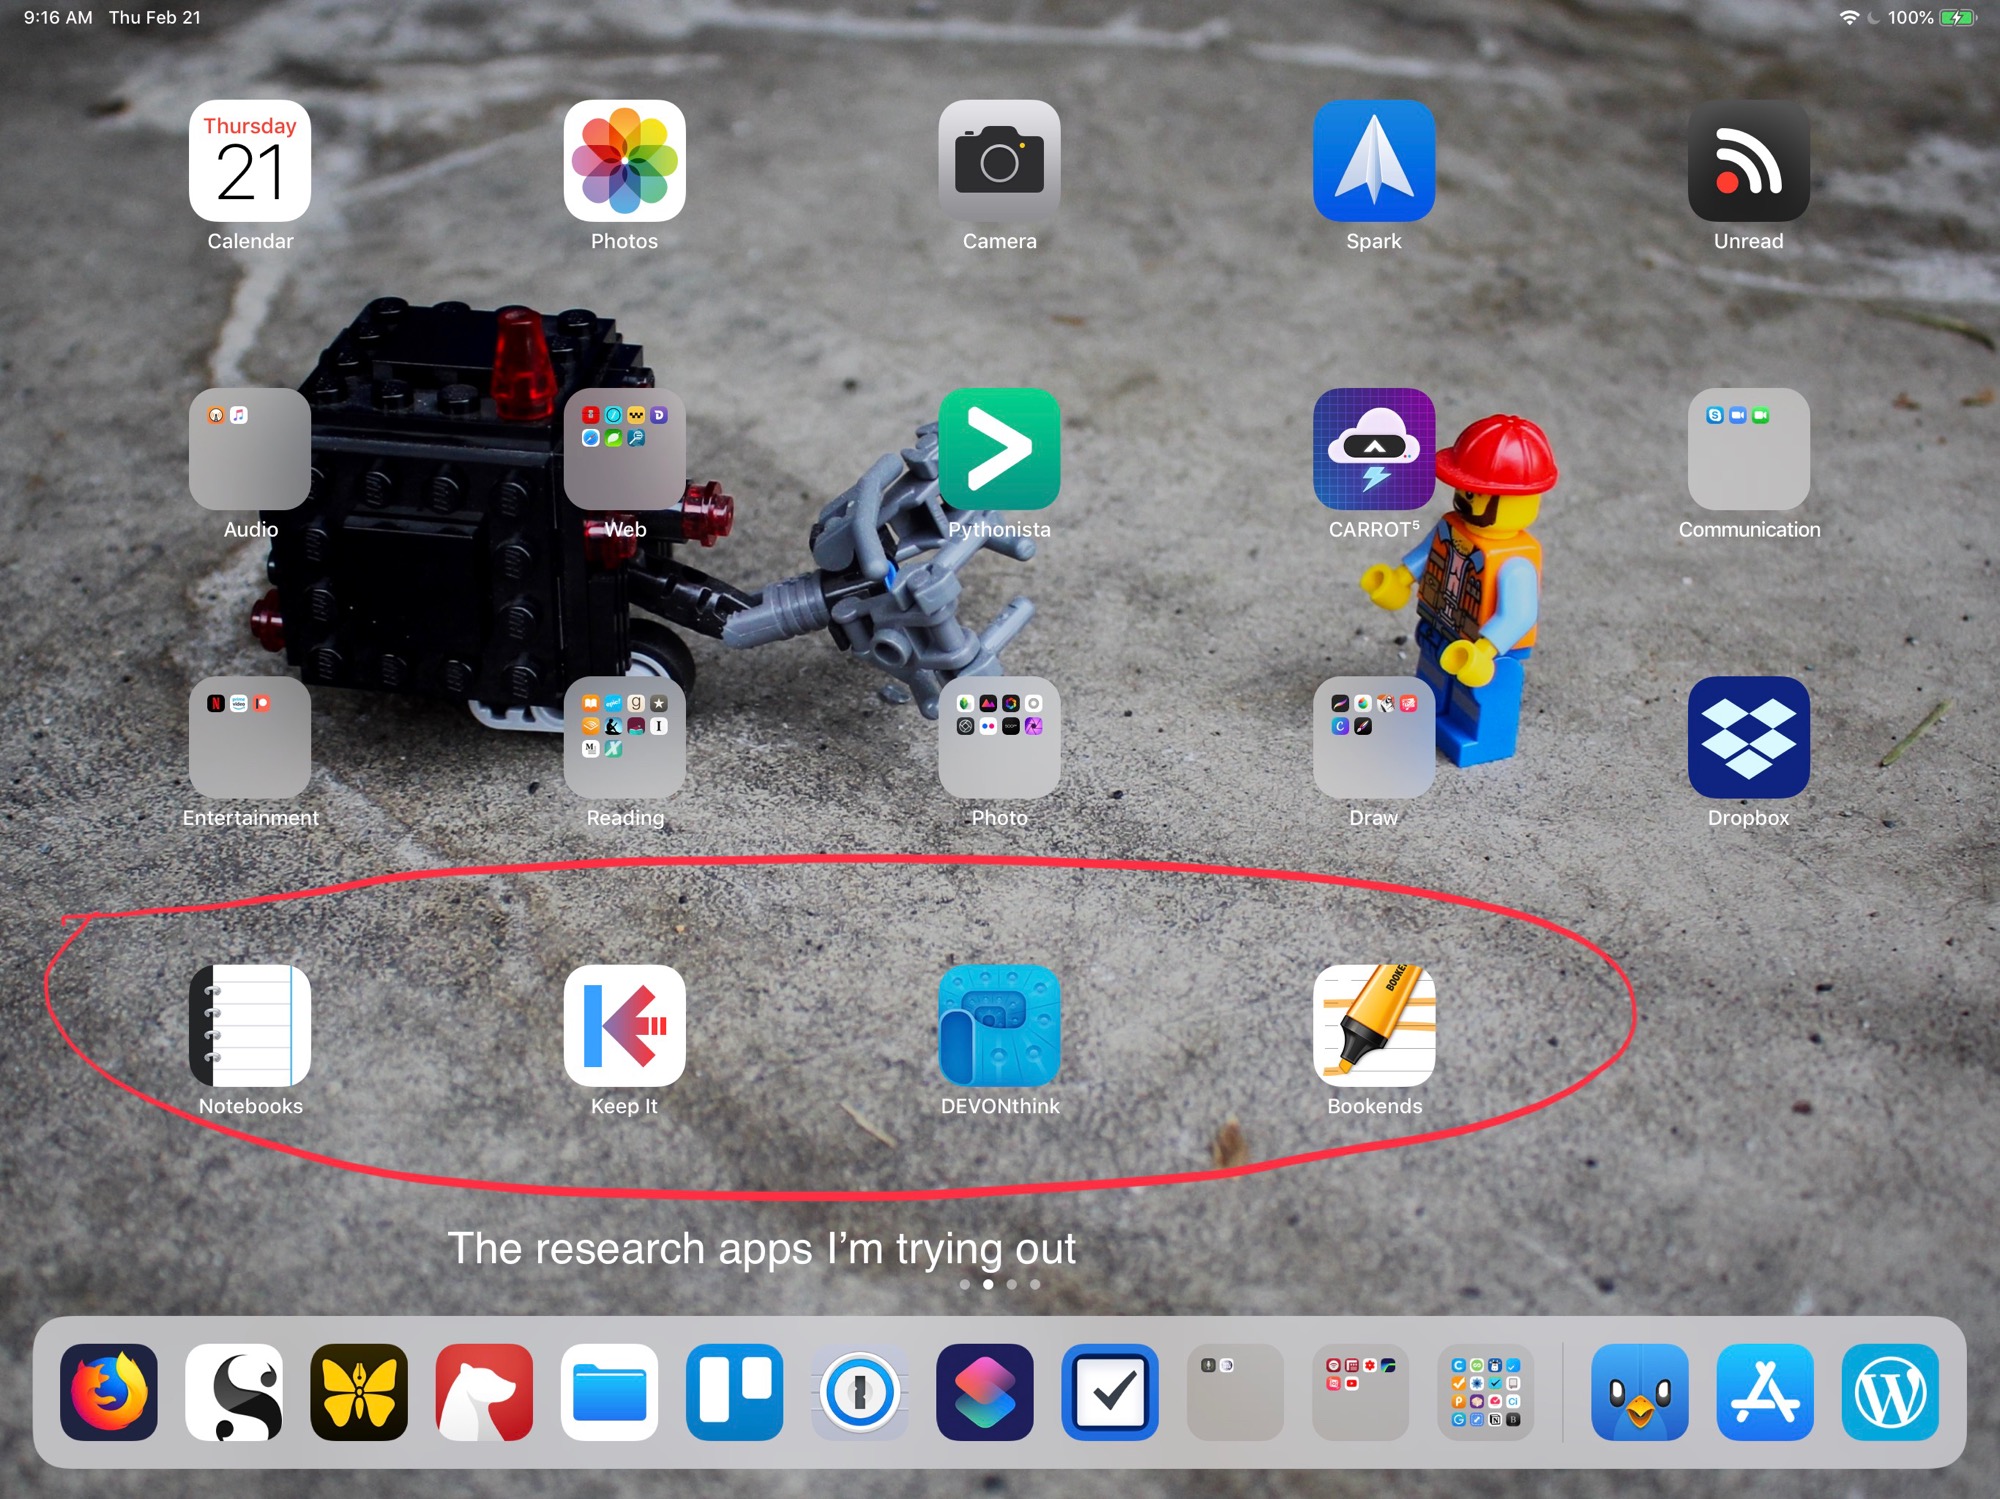
What about research?
One thing I didn’t talk about at all this time is research. I’ve used Evernote, and tested out Bear and DevonThink to hold my research. Right now, I’m kind of in search mode. I love Bear, but having my research bundled in with a bunch of other random stuff like Lego building instructions for the sets we have makes things harder to find.
I tried rolling my own resources, but WordPress admin sucks when you get a decent amount of metadata in it. Then try doing much with WordPress from an iOS device and you’ve entered a world of problems.
I’ve said before that I’m questioning whether I stay with WordPress at all for my site anyway. My research will be moving out of the resources on my site though and into something which is currently undetermined. I’m up for recommendations if you have them.
I’d love to hear about your writing workflow, but don’t leave it in the comments. Put together a video, or write something about it and link back here. Heck, whatever your workflow is, like Joe’s podcasting setup, I always find it interesting to see how others work and often pick up one idea I want to try so I can maybe improve my workflow.