As I’ve moved to Statamic from WordPress, one of the things I’ve missed is the WordPress Admin Bar. For those unfamiliar, in a standard WordPress setup when you’re logged in viewing a blog post you can edit, a direct edit link show up in the header of the site. You don’t need to navigate to the control panel and then search/find the content to edit it. Just click the link on the top bar of the site and…you’re editing.
While Statamic doesn’t have this out of the box, it does actually know what the editing URL of the currently viewed content is. Let’s add an edit link that’s visible only to logged in users.
To start, head to your Statamic Control Panel. Then go to Settings->Debugging and turn on debug mode and the debug bar.
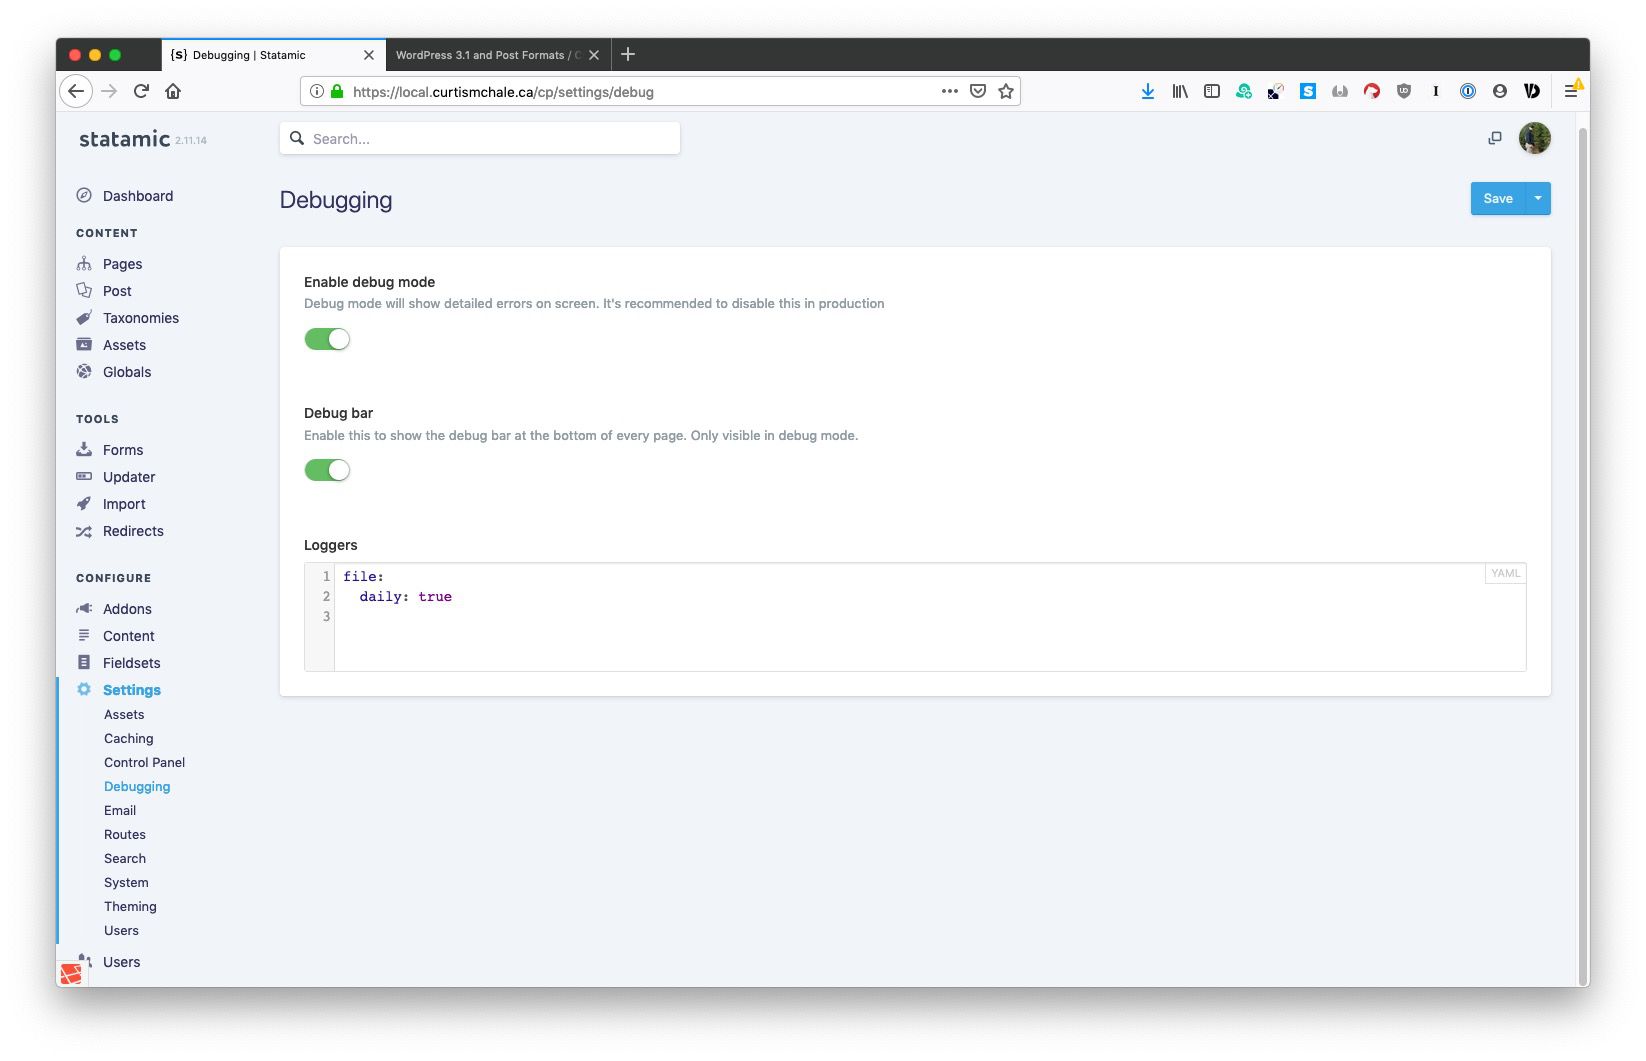
[See full size image](/assets/code/statamic-edit-link/01-statamic-debug-settings.jpg)
This is going to turn on the debugging mode for Statamic. If you’re coming from WordPress it’s similar to turning on `WP_DEBUG` and having a tool like [Query Monitor](https://en-ca.wordpress.org/plugins/query-monitor/) or [Debug Bar](https://wordpress.org/plugins/debug-bar/) installed on your site. If you want to get really fancy, you can configure Statamic to show this on your `dev` site location and not show it in production. I’ll cover that in a future tutorial.
With your debugging on you should see a bar similar to the one below on both your Statamic admin and the frontend of your site.
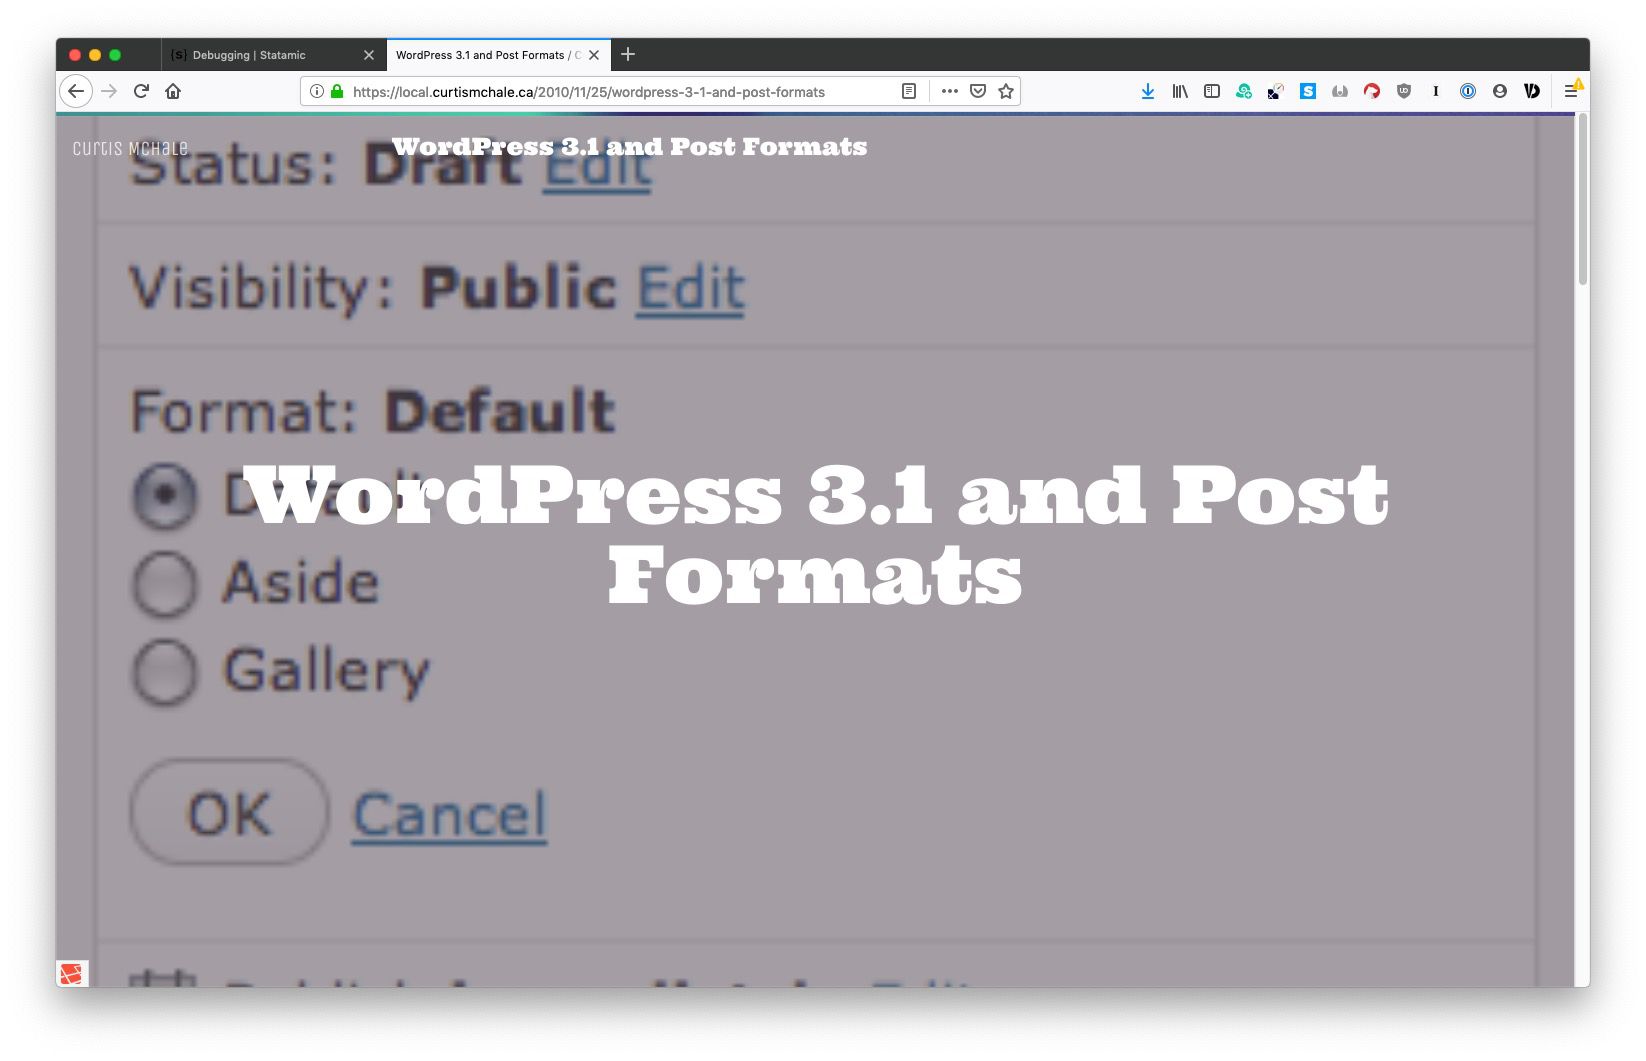
[See full size image](/assets/code/statamic-edit-link/02-statamic-debug-bar-showing.jpg)
It doesn’t look like much, but click that bar and then click on the variables tab. This is going to show you all the variables that Statamic is aware of while viewing the frontend of your site.
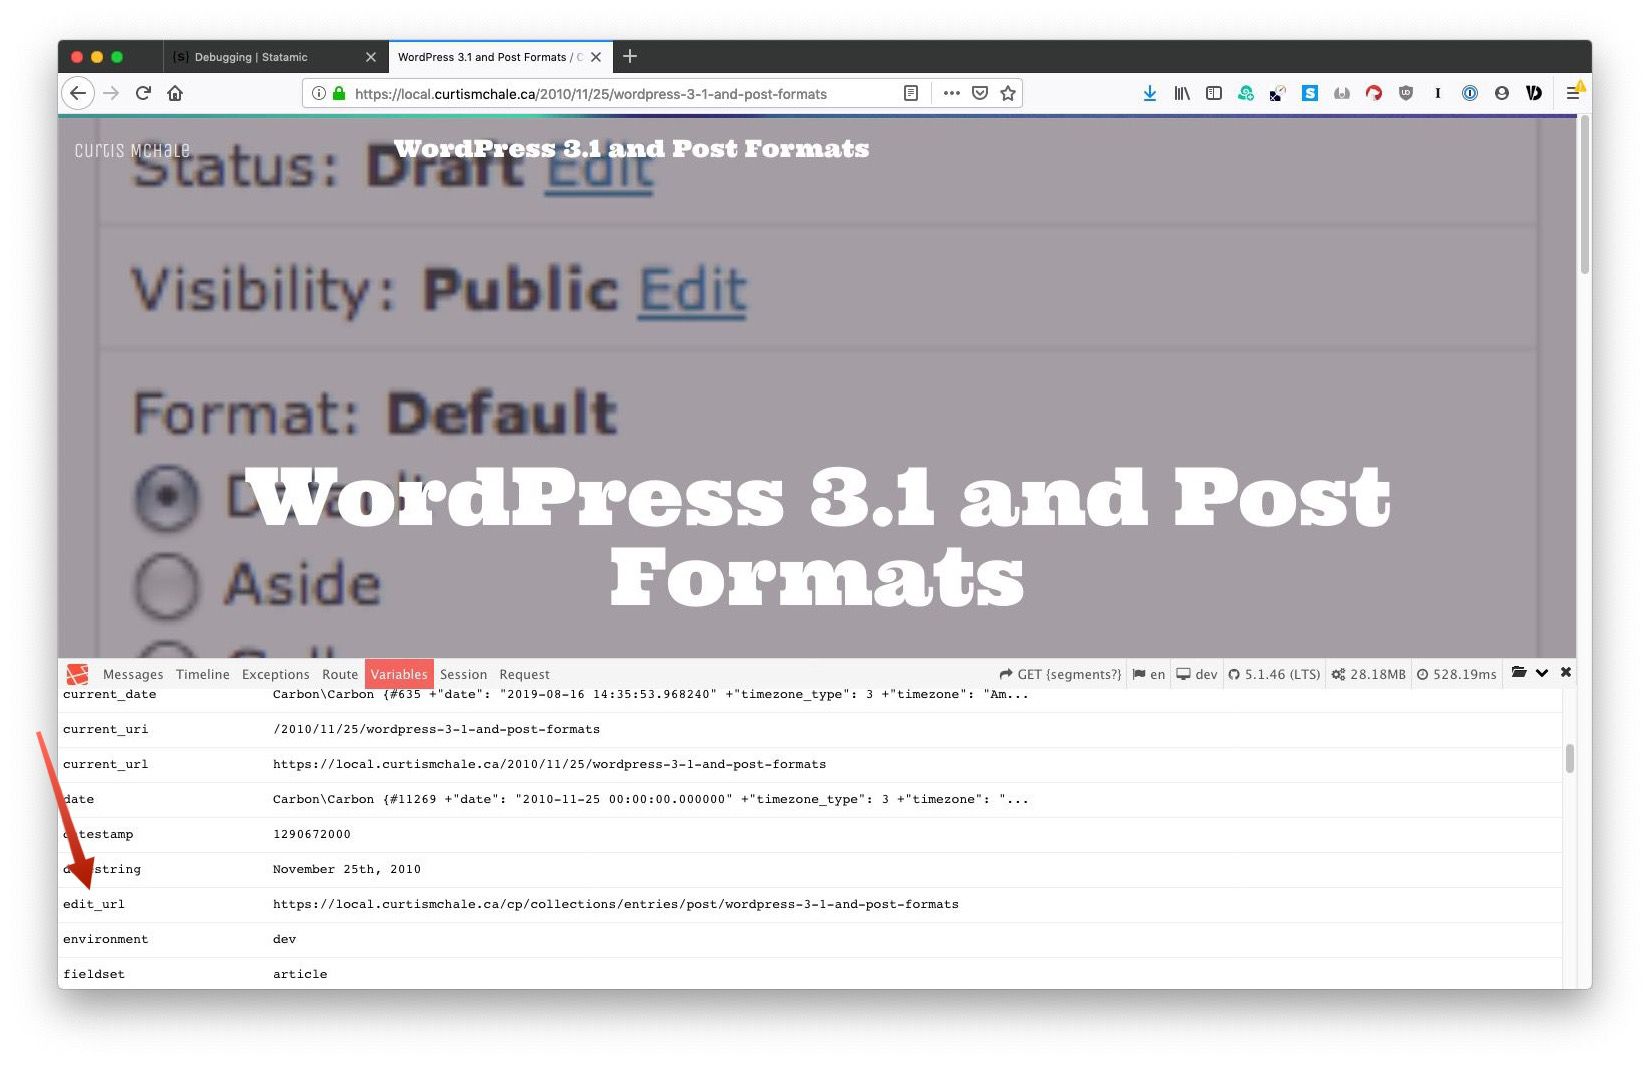
[See full size image](/assets/code/statamic-edit-link/03-statamic-edit-url.jpg)
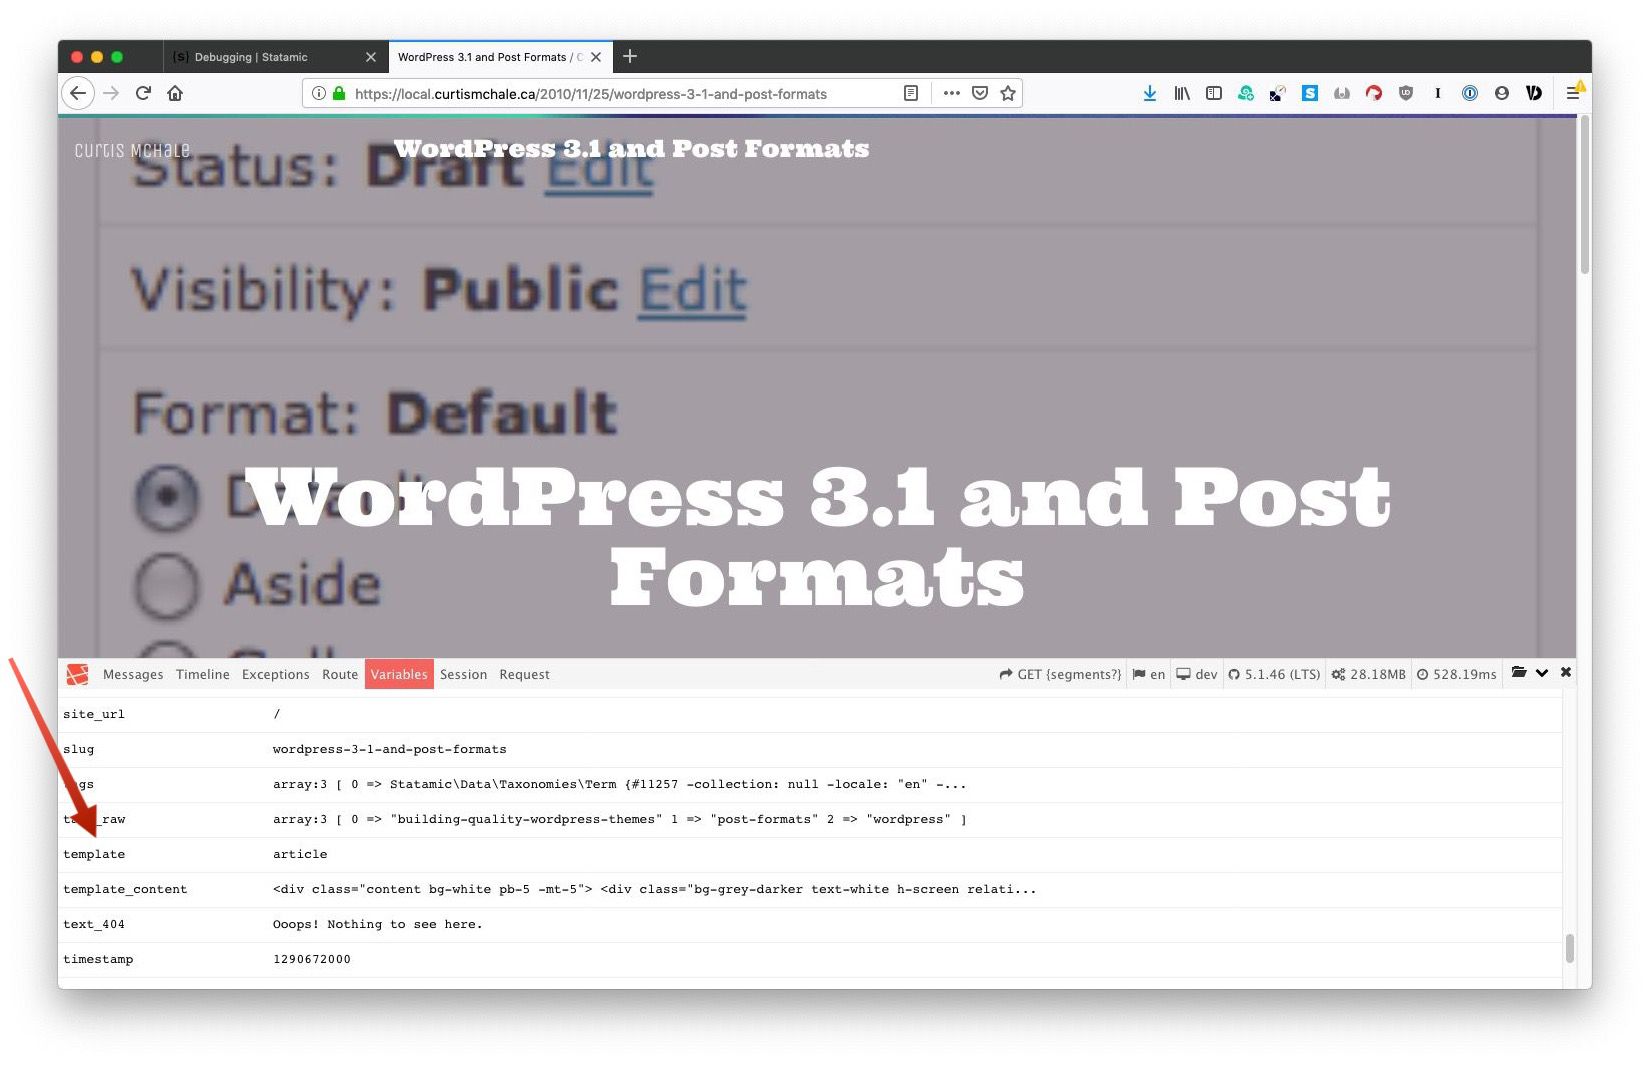
You’re going to have to scroll down a bit, but note the `edit_url` variable. That’s the one we’re going to use to add our edit to the frontend of our site. We’re also going to use the variables to find out which template our Statamic Theme is using to display the page we’re looking at. In my case it’s the `article` template. You can see it below beside the `template` variable.
[See full size image](/assets/code/statamic-edit-link/04-statamic-template-variable.jpg)
Next we’ll open up the template we need, and then we can start editing. You can see where my template starts at below.
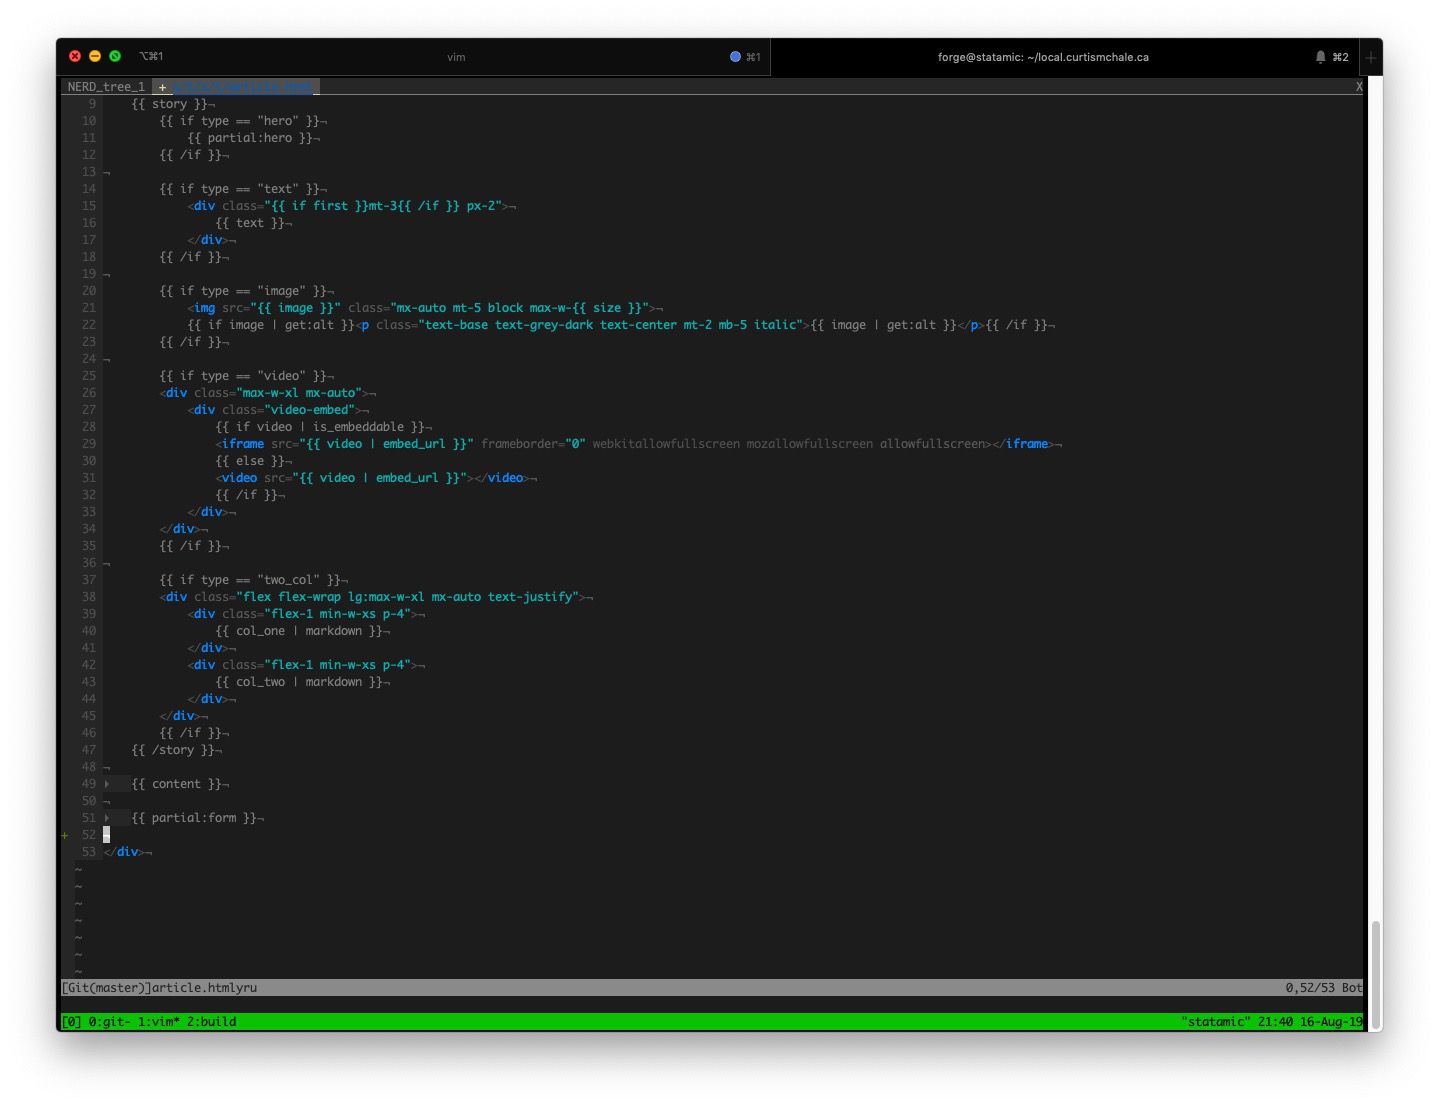
[See full size image](/assets/code/statamic-edit-link/05-my-statamic-template.jpg)
Statamic uses [Antlers](https://docs.statamic.com/antlers) for it’s templating, and that’s what we’re going to need to use to build the edit url for our site. We can start by adding a basic link tag like this.
Right now that does nothing because the `href` goes nowhere, but let’s add it to the template to make sure it shows up first. As you can see in the screenshot below, adding the code above to my article template does in fact show the link on my content.
[See full size image](/assets/code/statamic-edit-link/06-blank-edit-url.jpg)
Now, let’s make it actually link to the content by adding our Antlers tag in place of the `#` symbol, like this.
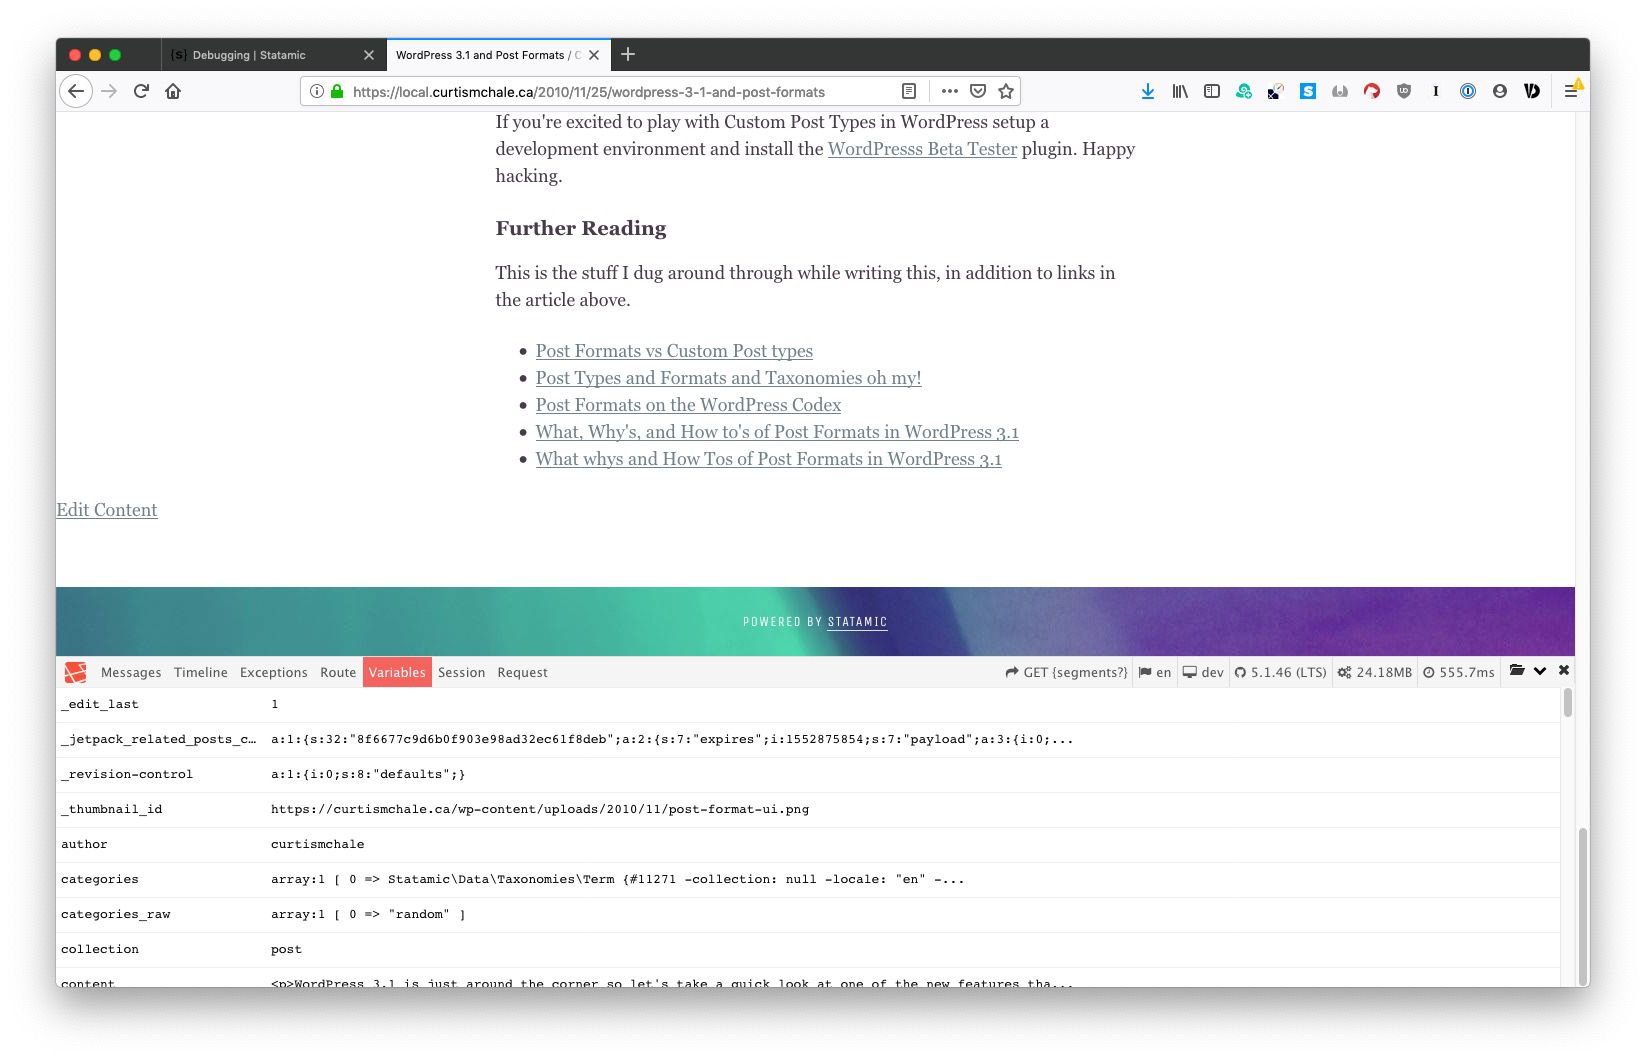
If we return to our template we’ll see that we do now have an edit link that will take us directly to the control panel for Statamic. What we don’t have yet is limiting that link to only logged in users. For that we’ll need to turn to [Statamic conditionals](https://docs.statamic.com/antlers#conditional-logic) in addition to grabbing another variable out of the Statamic debug panel. This time we want the `logged_in` variable.
[See full size image](/assets/code/statamic-edit-link/07-logged-in-variable.jpg)
We need to wrap our link above in a simple `if` statement like this.
Now when I open an incognito window and view my staging site I don’t see the `edit_url` but it is present when I am logged into the site.
Finally, let’s make it look a bit nicer by applying the `btn` class that I use in my theme to style buttons. For your theme, use whatever button style you like, or just leave it as a bare link and don’t worry about it. Whatever floats your boat.
Here is how my edit link looks now that I’m all done.
[See full size image](/assets/code/statamic-edit-link/08-finished-edit-button.jpg)
If you’ve got some other Statamic tutorials you want to see, let me know.