
While it’s not all that hard to do, it did take me a bit of digging to figure out how to add my Synology to nixOS. The first thing that tripped me up was a simply mind trick where I didn’t really clue into the fact that I was looking to add a Samba share location to my configuration.nix [1] is found at /etc/nixos/. To edit and save you’ll likely need to type sudo vim configuration.nix so your editor has root access.” class=”js–wpm-format-cite”>file[1]. For some reason I just kept looking for information on adding Synology, not the technology that my Synology was using to make itself available to my devices.
Once I got past that mental block it was a simple step to follow the nixOS Samba documentation.
First you need to add cifs-utils to your packages.
Once you’ve added cifs-utils to your packages you need to add the share location for your device with the following code block.
  fileSystems."/mnt/share" = {
      device = "//<IP_OR_HOST>/path/to/share";
      fsType = "cifs";
      options = let
        # this line prevents hanging on network split
        automount_opts = "x-systemd.automount,noauto,x-systemd.idle-timeout=60,x-systemd.device-timeout=5s,x-systemd.mount-timeout=5s";

      in ["${automount_opts},credentials=/etc/nixos/smb-secrets"];
  };
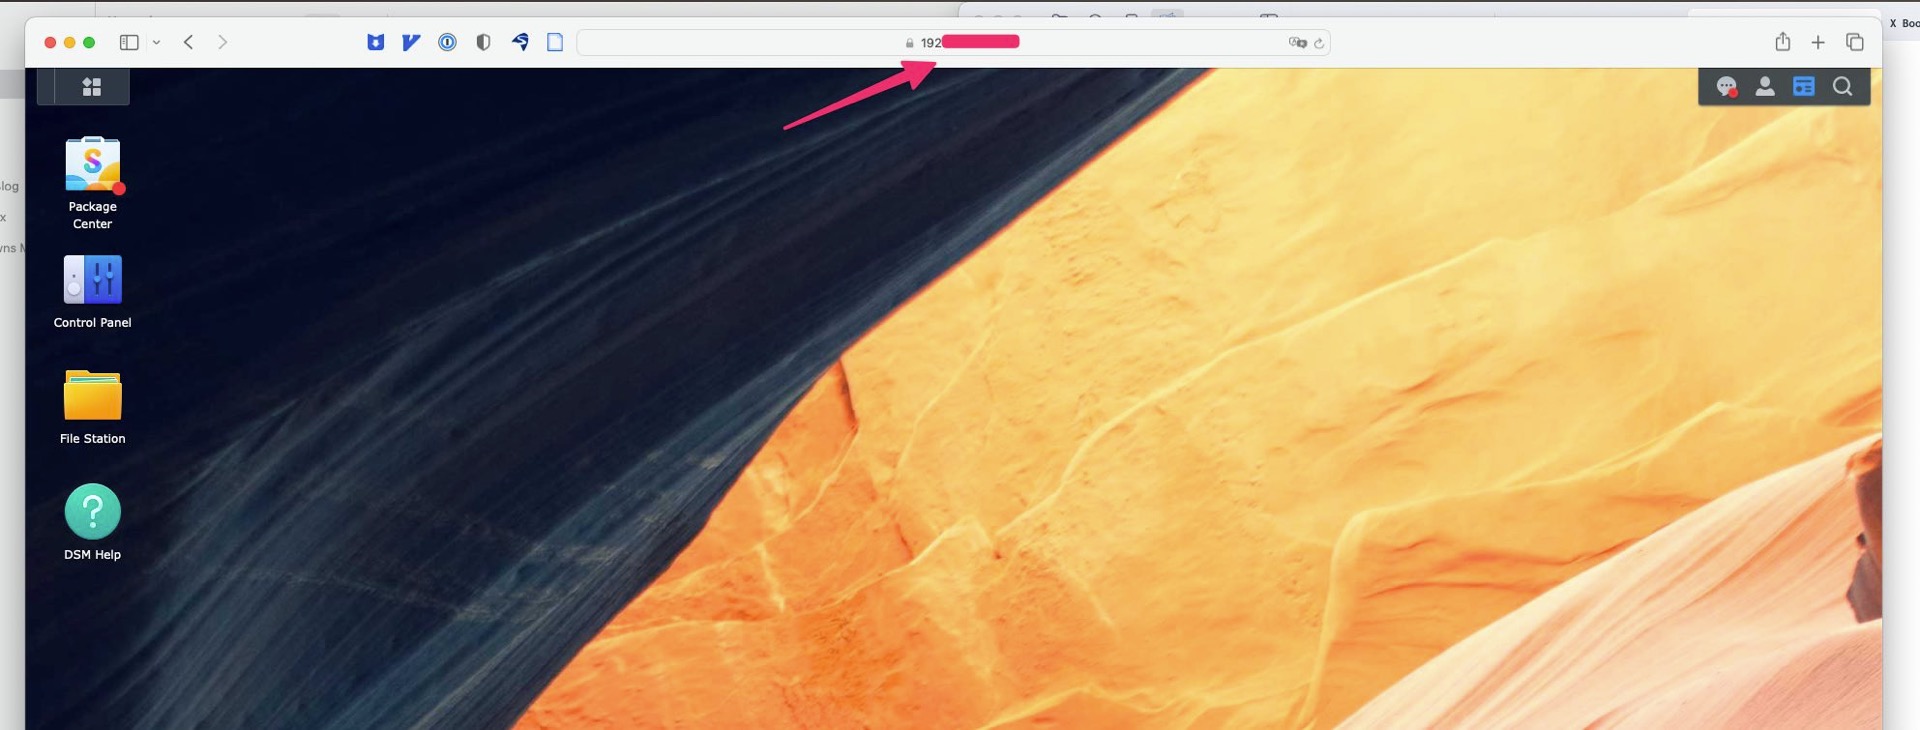
To get the IP for your Synology, sign into the control panel and get the IP address from the URL in your browser.
Once you’ve done these two steps run nixos-rebuild switch[2] to rebuild your system with the new configuration steps. Once you’ve done this you should see your Synology share location show up in the file browser. You should be prompted for the username and password for the shared location when you first access it.